Time: 5 Minutes
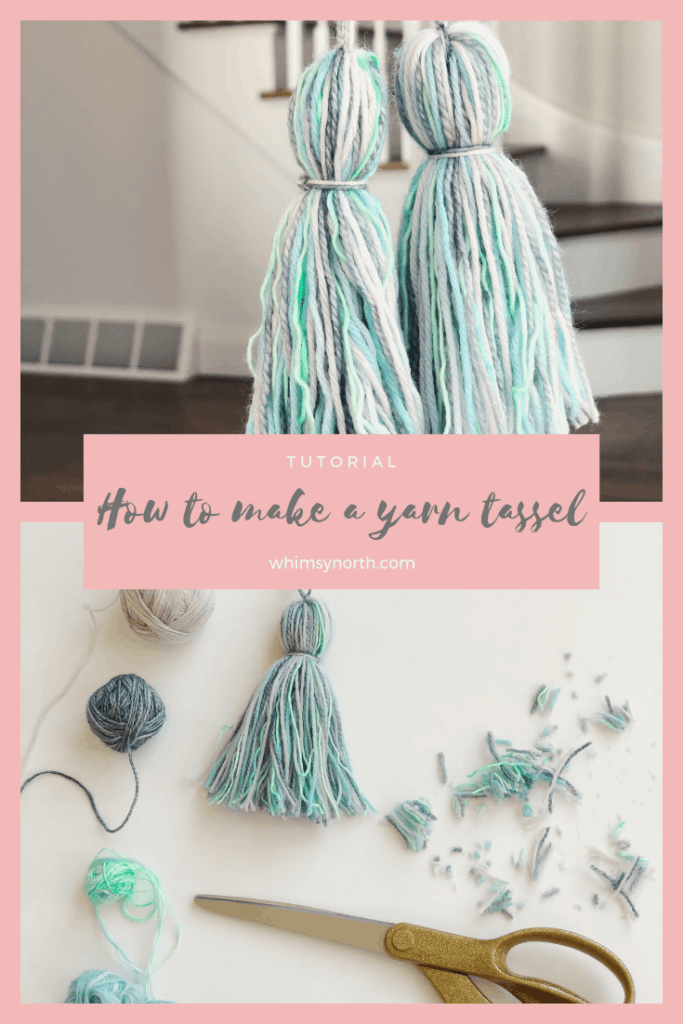
I am all about the yarn tassels these days. From earrings to home decor, tassels can be found just about anywhere. Not only are they pretty and fun but they are super simple to make. These DIY yarn tassels were made in 5 minutes and specifically to add to the corners of my newest knitted shawl design, the Melted Sea Shawl.
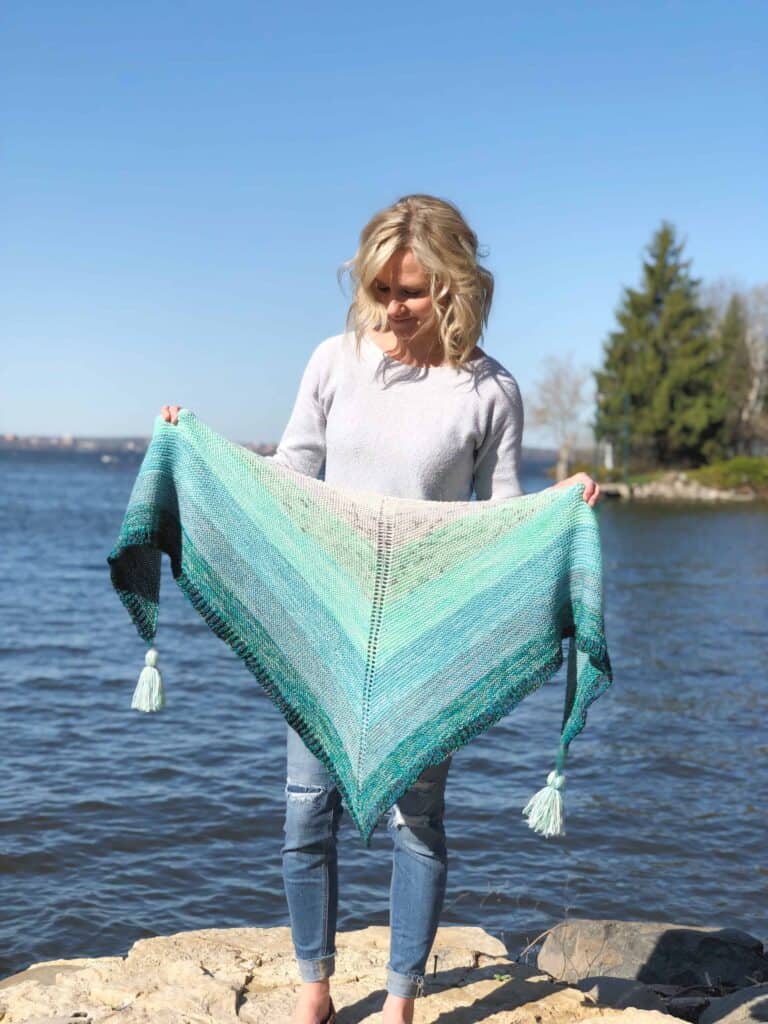
Read on to find out how you can make your very own tassels in 5 minutes or less.
Tassels can be made out of many different things. I mostly create mine out of yarn, however, I have also used ribbon, strips of fabric and strips of tissue paper.
Materials Needed
- Your choice of yarn, ribbon, fabric or tissue paper strips
- Scissors
- Darning Needle
- Piece of cardboard (not required but helpful)
Steps to Complete
1. Decide how long you want the tassel to be.
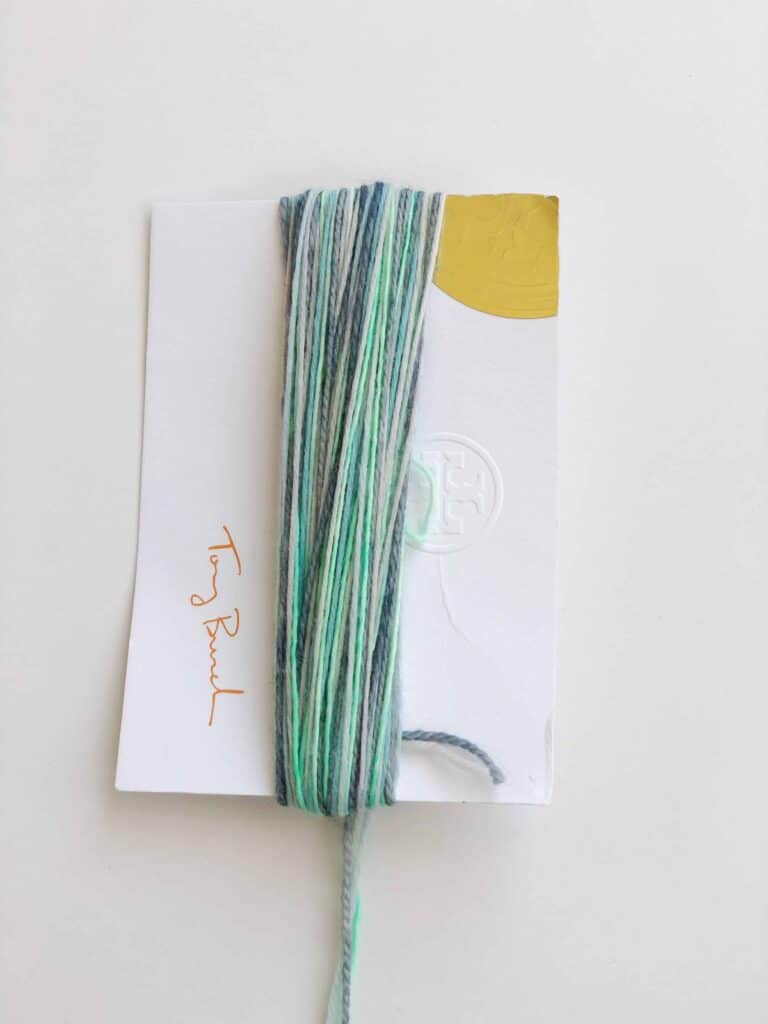
First decide how long you want your tassel, then cut your yarn, ribbon or fabric in strips twice as long as you would like the finished tassel. This is where your piece of cardboard comes in handy. I like to use either a piece of cardboard or as you will see in the photos a heavy cardstock card to wrap my yarn around. If you choose to use cardboard or card stock simply cut it to the height that you would like your tassel to be. The example I’m showing is 5” if I wrap the yarn the long way (as shown) and 3” if I wrap it the short way. That gives me two tassel length options and 5” and 3”. This card came in a purse that I received from Tory Burch and it was so nice and heavy that I like using it for making tassels.
2. Choose how thick you want your tassel to be.
The more strips you cut or times you wrap the thicker the tassel. Keep in mind that your strips will be folded in half later so you will get double the thickness once you are done. The example I’m showing I held 4 strands of fingering weight yarn together (which is a light weight yarn) and I wrapped it 25 times around. Therefore, if I were to cut the strands without wrapping, I would need to cut a total of 100 strands to twice the length I want my tassel to be.
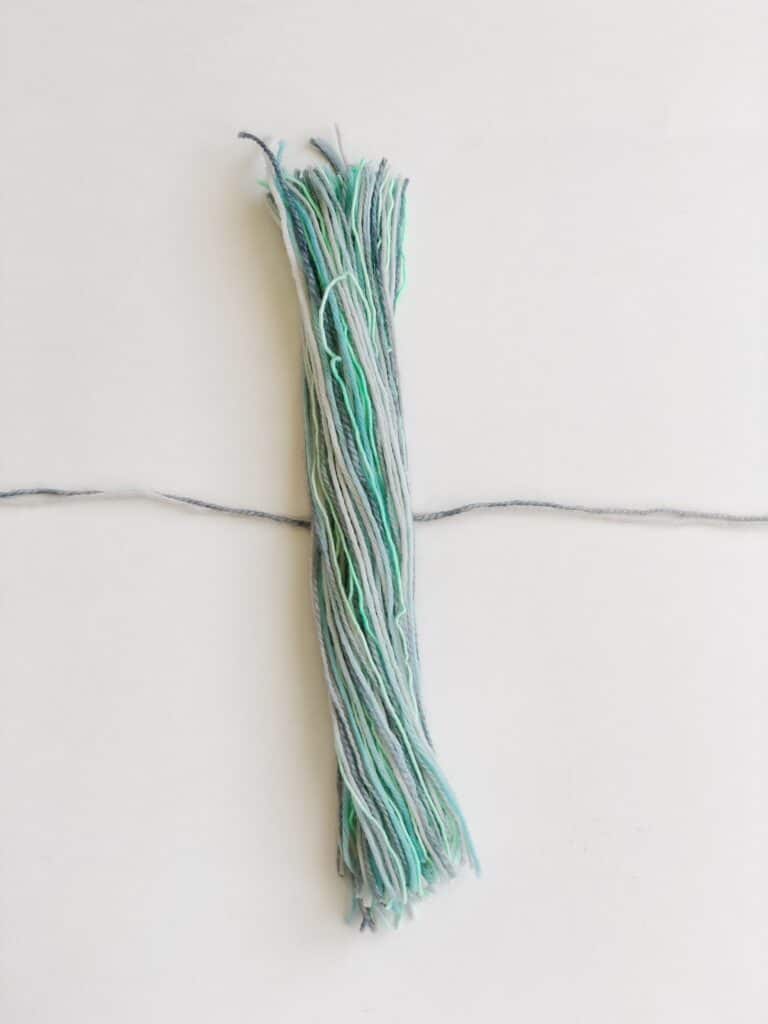
3. Cut your wrapped yarn in half.
If you chose to cut your strands without wrapping them around cardboard, you can skip this step. If you chose to wrap your yarn, ribbon or fabric next you need to cut them at the bottom in order to make long strands.
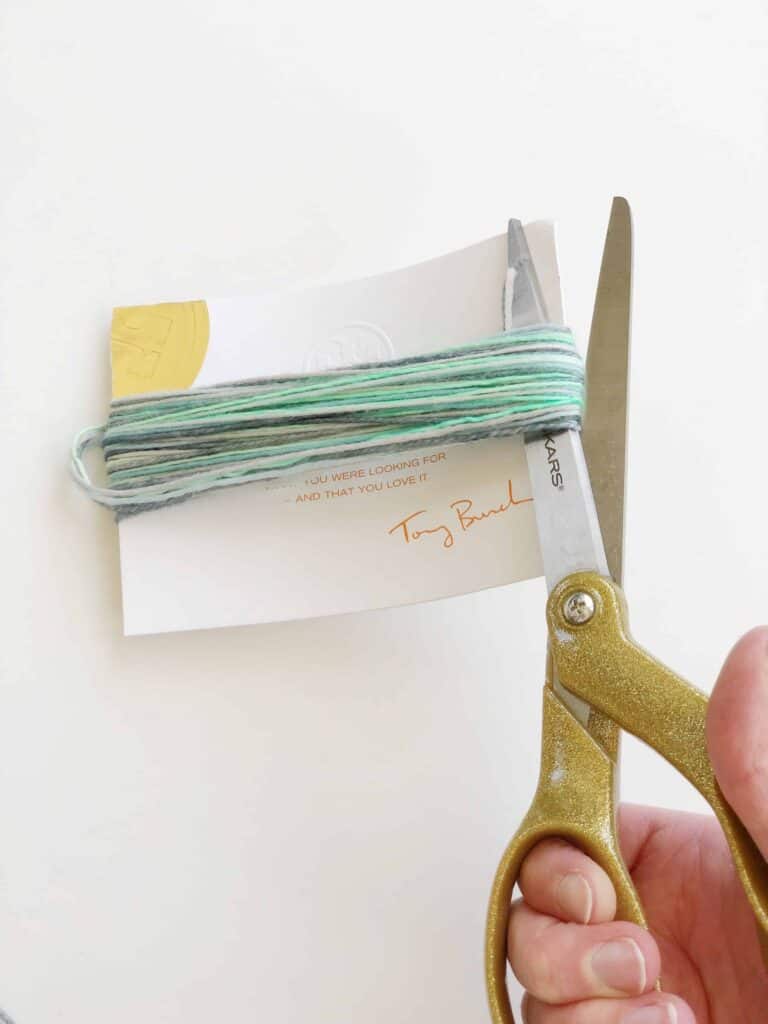
4. Cut two additional strands of yarn twice as long as your bundle.
Then you will cut two additional strands of yarn, ribbon or fabric to a little less than double the length of your current tassel strands. These two strands are going to be used to tie up the tassel.
5. Place one longer strand under your bundle and tie it in a knot around the bunch.
Place one of the longer strands half way under the bunch of your cut yarn and tie it in a double knot around the bunch.
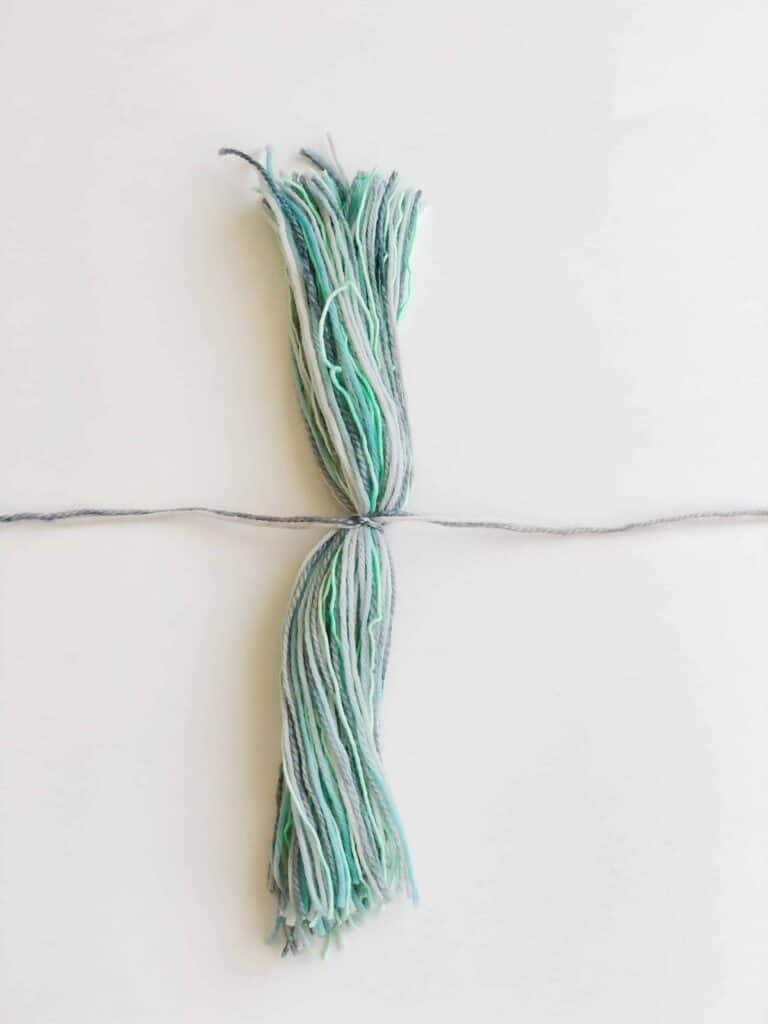
6. Fold tassel in half and tie the second strand around the tassel.
Then lifting up the bunch by that longer strand you just knotted around, fold your tassel in half. Take the second longer strand and tie another double knot around the tassel about 1″ to 1.5” down from the top.
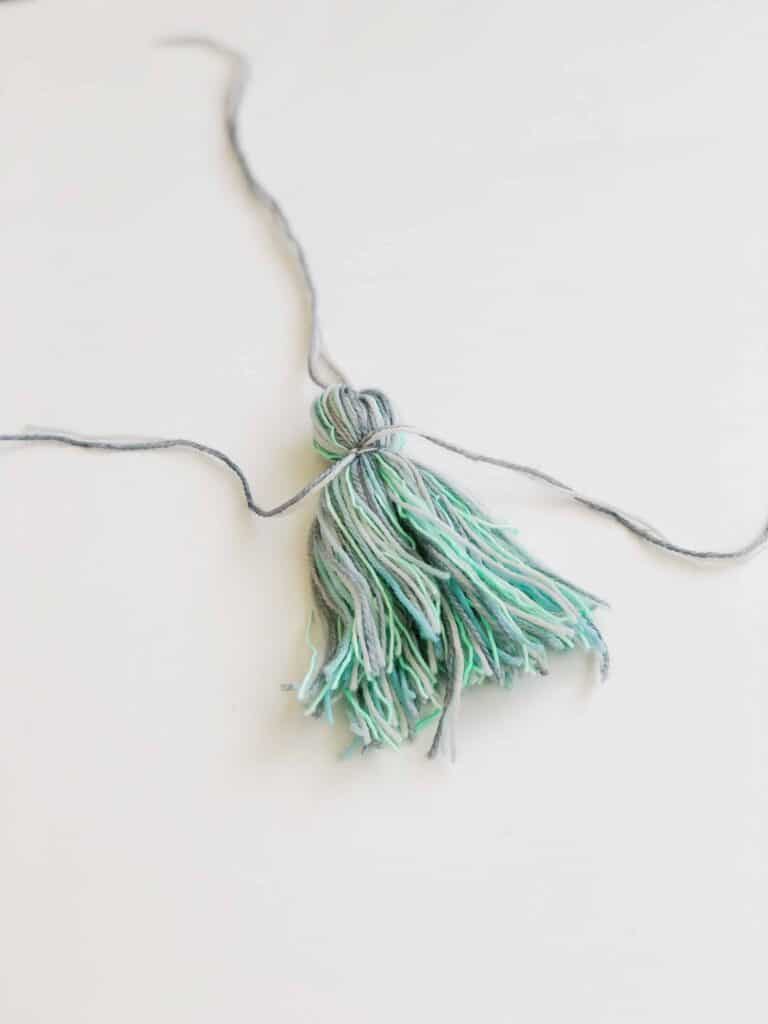
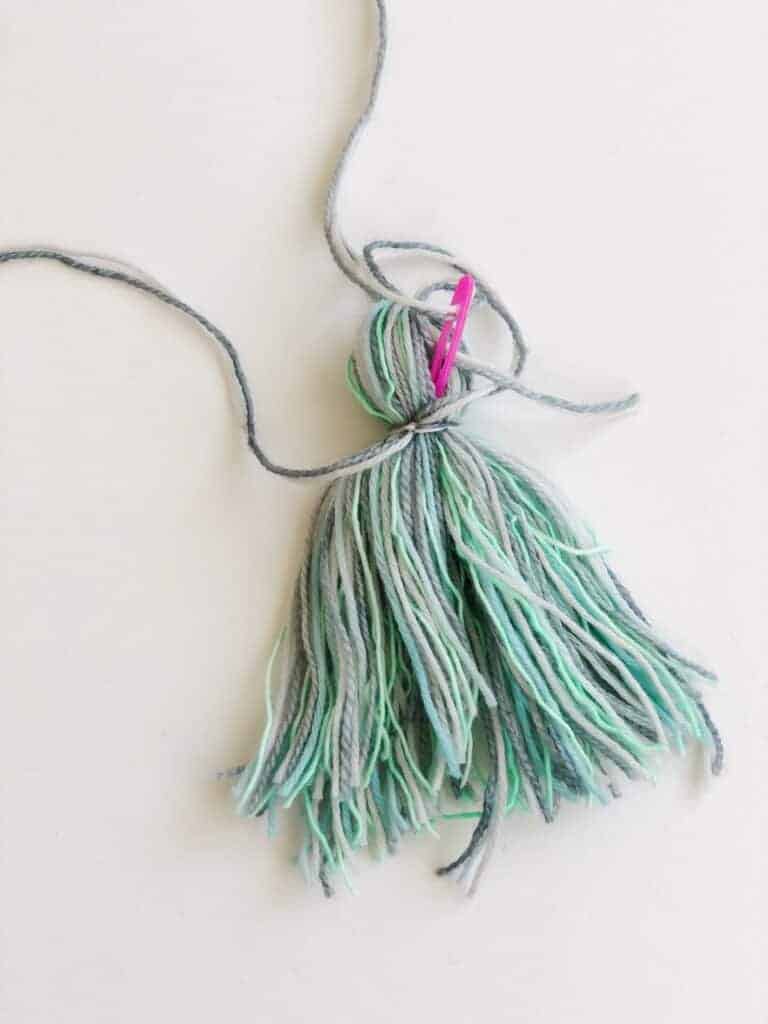
7. Use your darning needle to tuck in the ends.
Next, take a darning needle and thread the long strands that you just wrapped around the top back through the tassel to hide the knot.
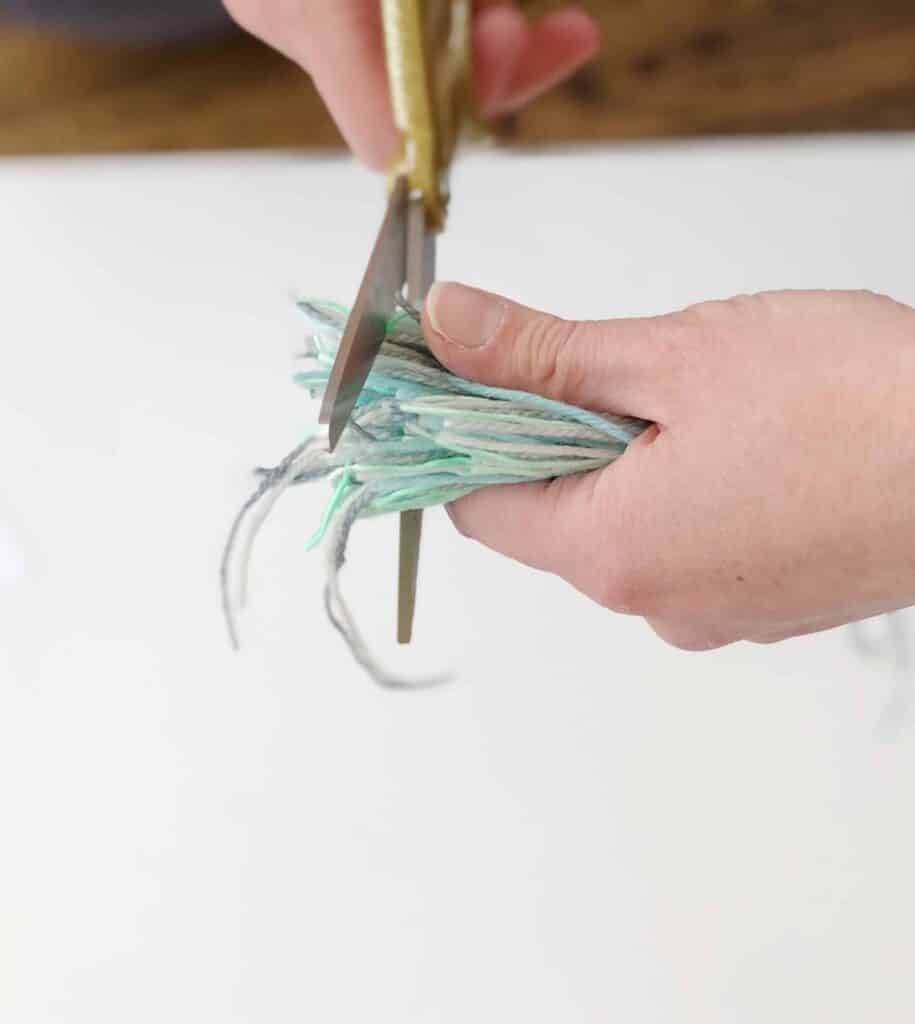
8. Trim your tassel.
Finally trim the bottom of your tassel and you are done! You can use the top longer strands to tie your tassel onto something or hang it.
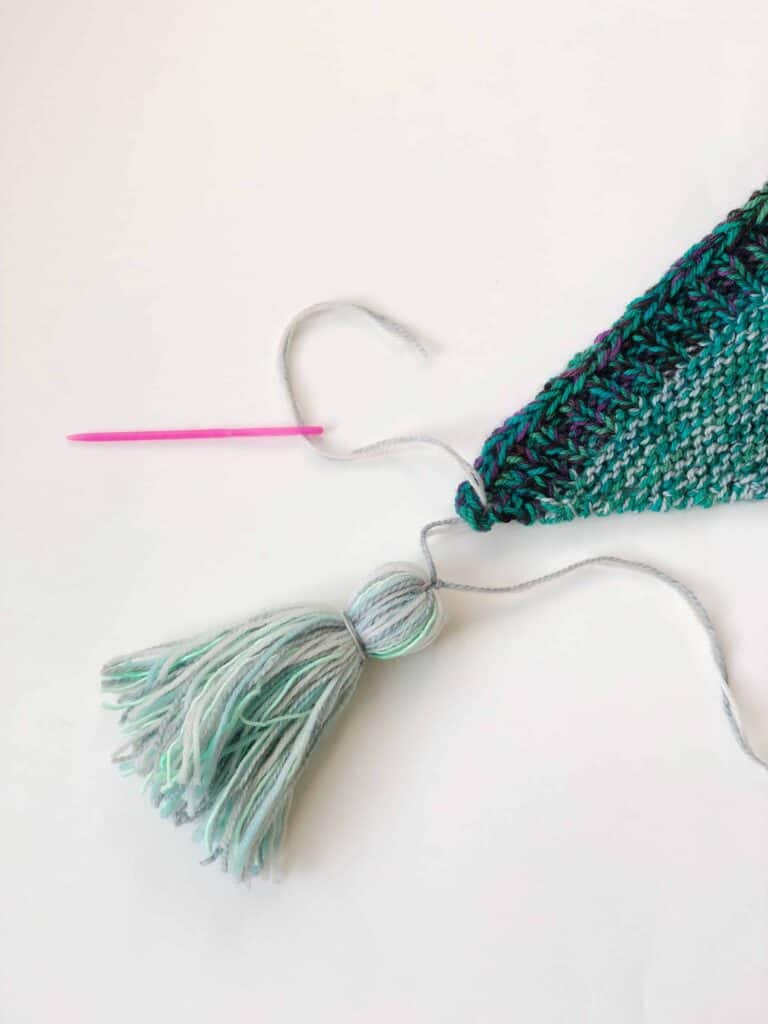
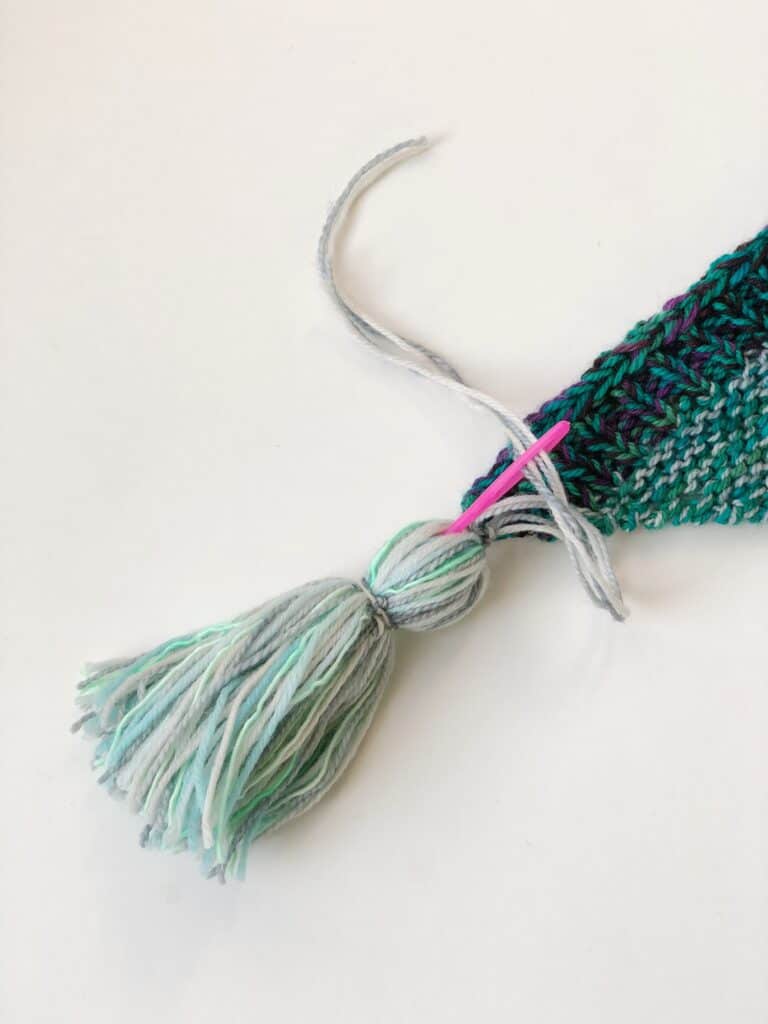
If you are creating your tassels for Melted Sea Shawl, then use those top strands to tie your tassels onto the side corners of your shawl. Then take your darning needle and thread the tied ends back through the tassel to hide them.
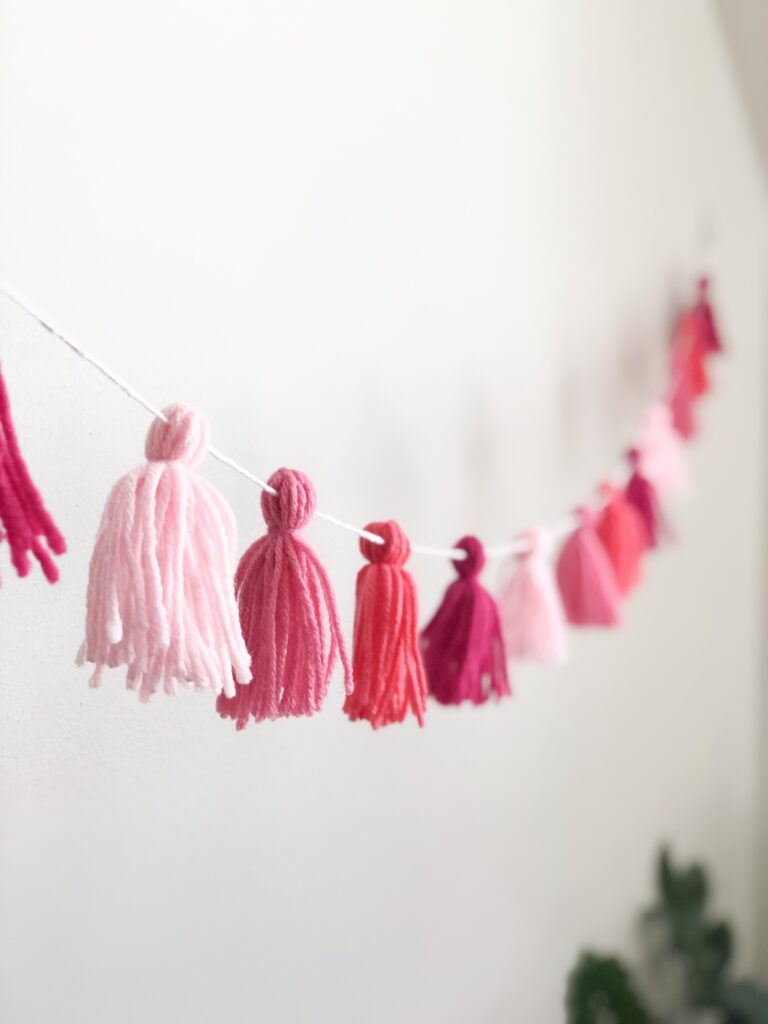
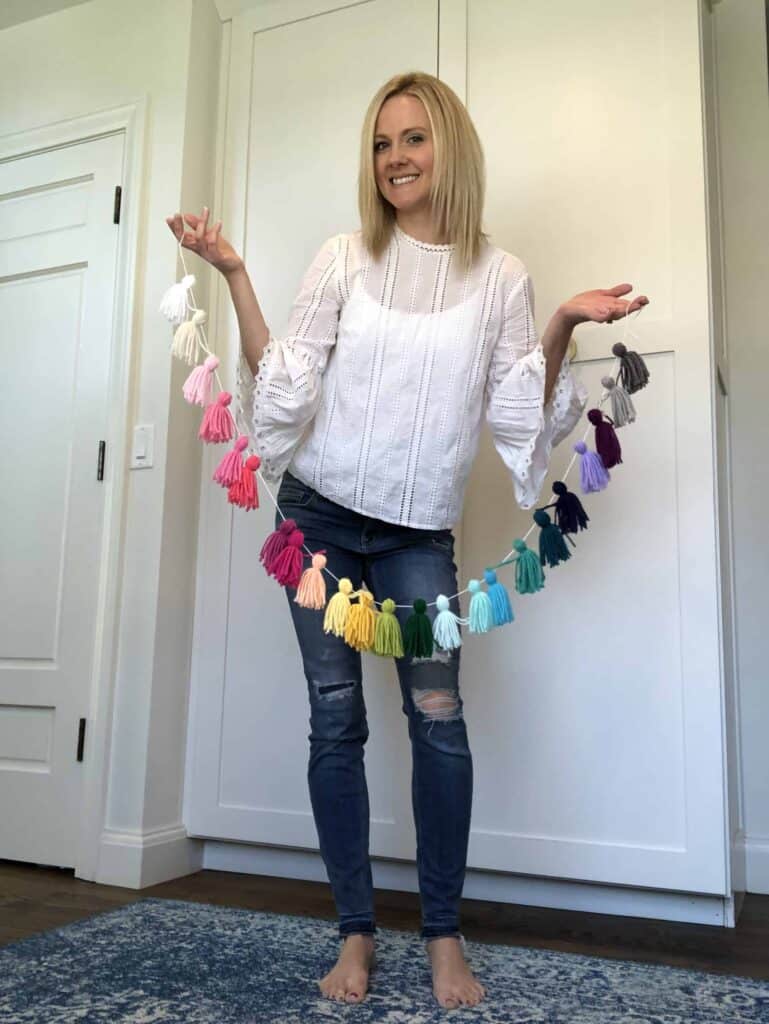
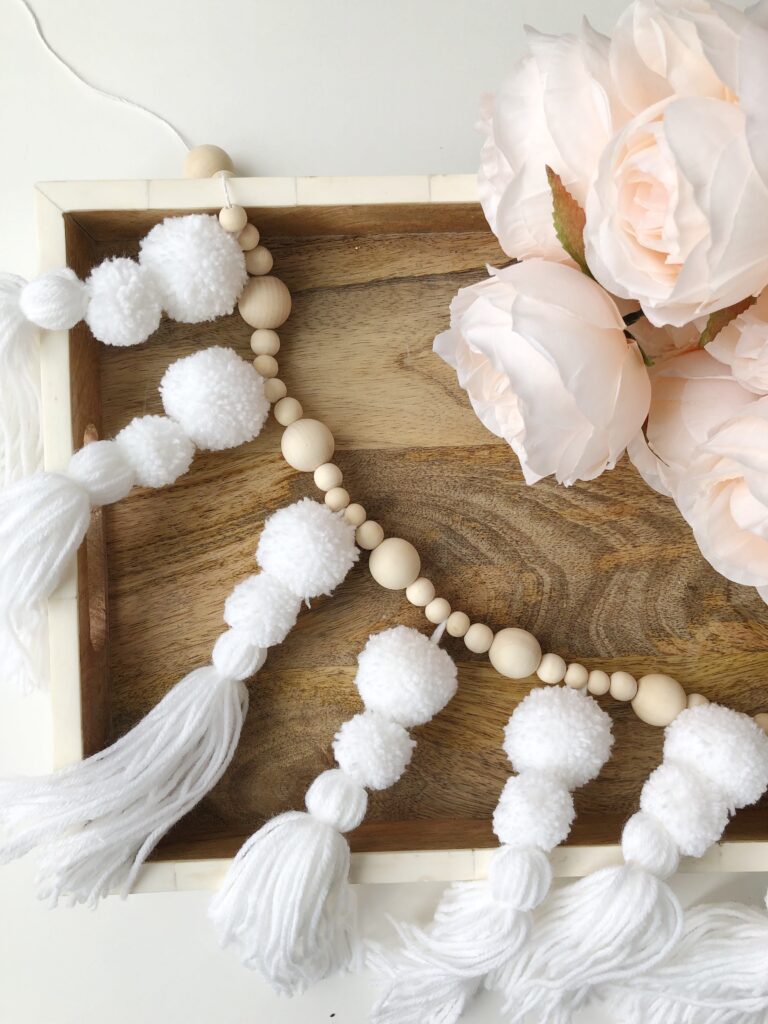
Here are some other examples of how I use tassels. What are your favorite ways to display your tassels?
XOXO
Margaret
