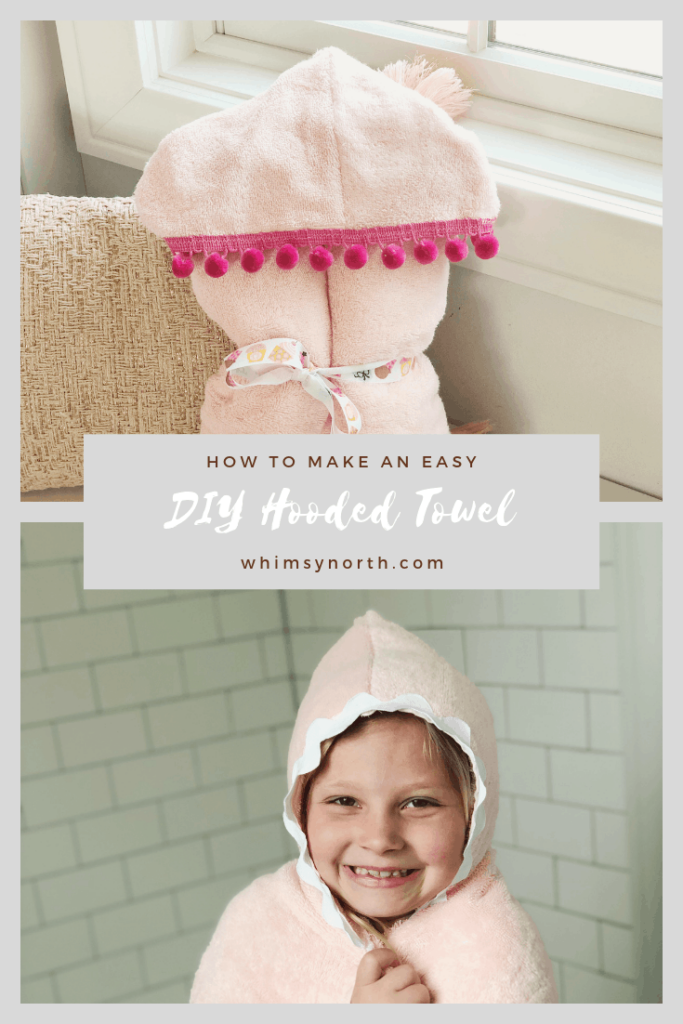
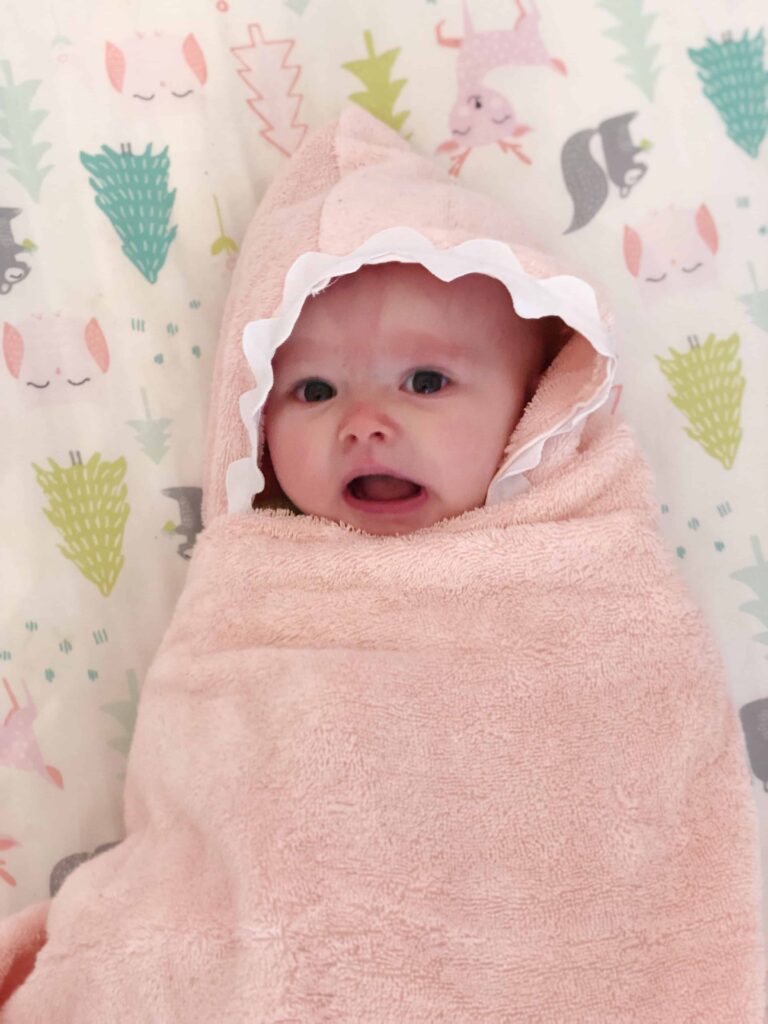
This easy DIY Hooded Towel Tutorial is great for babies + kids. They make the perfect baby shower gift!
When my first child was born one of my favorite gifts I received at my baby shower was a handmade hooded towel sewn by a very talented friend of mine. Not only was this hooded baby towel very practical, as I used it every time my baby took a bath, but it was also super cute! I love handmade gifts. Each time I use them I’m reminded of the maker.
Easy handmade baby gift
Flash forward two years when I was pregnant with my daughter. During the nesting phase with her I got heavily into sewing. I’m not a great seamstress (knitting is more my jam) and my machine is very basic but I can sew a straight line and create beginner items. I decided to work up my own hooded towel for her that was a little different and easier for me to create than what my friend had made. I have been gifting these towels to friends and family ever since! They are one of my favorite things to make as they are easy, practical and cute! Here is how you can make your own Easy DIY Hooded Towel. This towel is great for babies and kids. My older kids still use theirs!
Supplies Needed
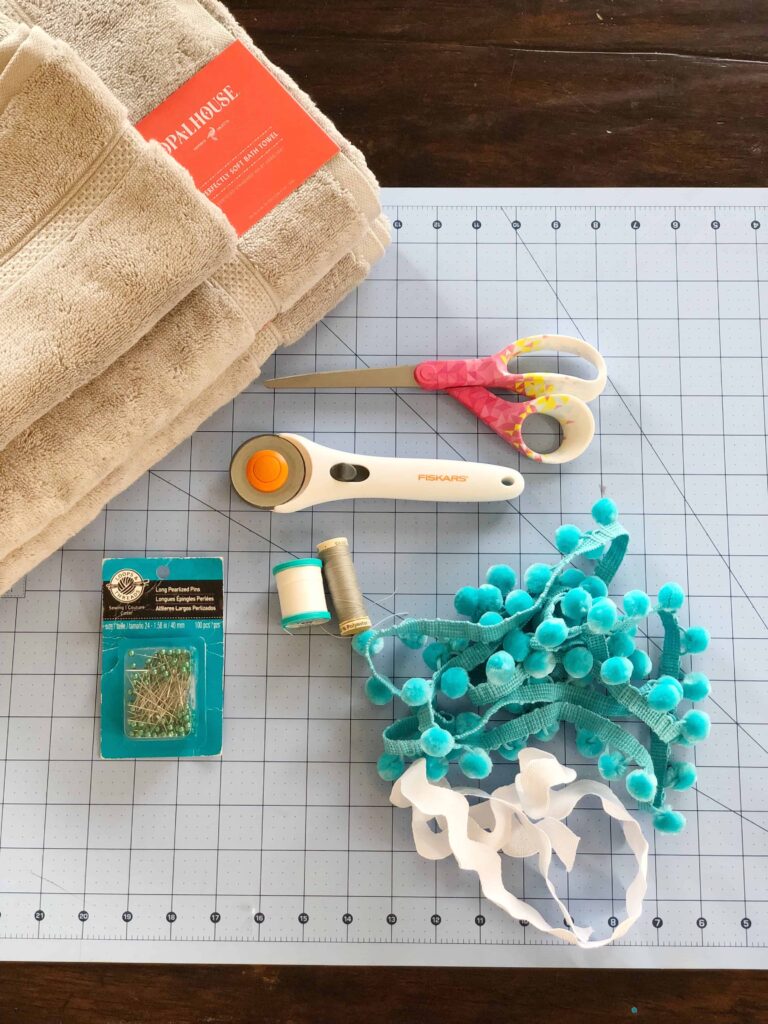
- One large bath towel. (I get mine from Target and like to use this one as it’s super soft and a great price.)
- One Hand Towel (One hand towel creates two hoods so I like to buy two bath towels and one hand towel to make two hooded towels at a time)
- Scissors
- Rotary Cutter (Not required but helpful)
- Rick-Rack , Pom Pom Trim , or Ribbon
- Thread to match your towel color + thread to match your trim or rick rack color
- Pins
- Sewing Machine (These can be sewn by hand, the time to complete would be adjusted. This tutorial shows them created using a sewing machine)
First Create the Hood
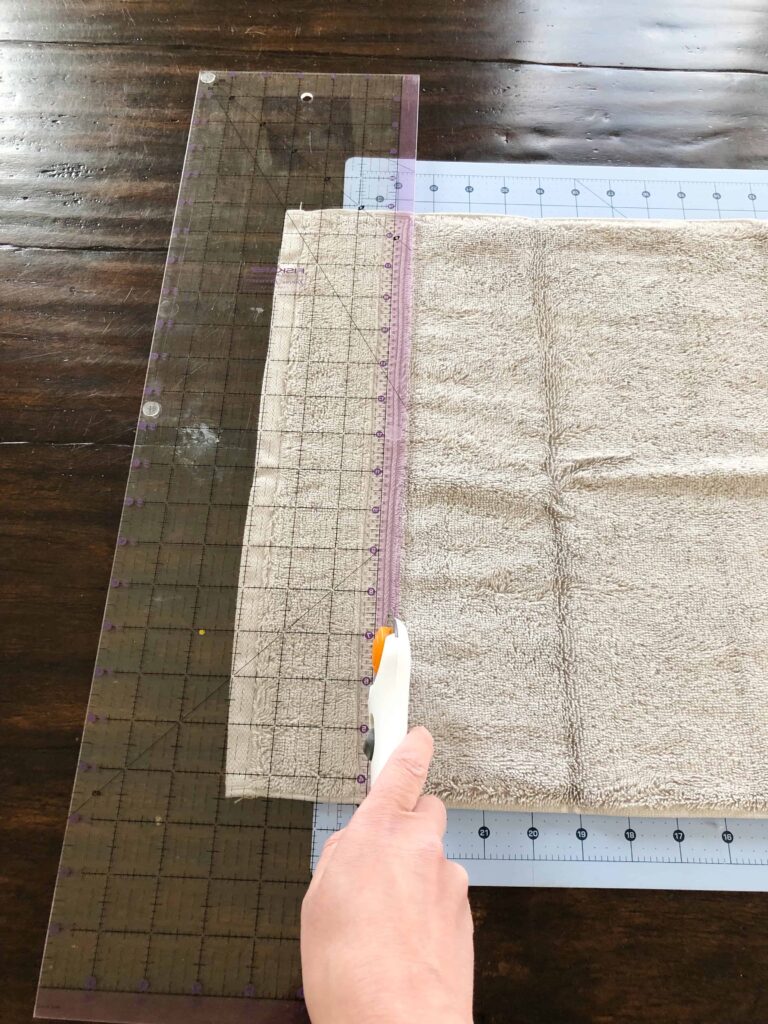
Cut off the decorative ends of your hand towel.
Lay your hand towel on a flat surface and cut the decorative ends off of both sides. I use a straight edge and my rotary cutter for this, however, you can use a ruler and mark it first, then cut it with your scissors.
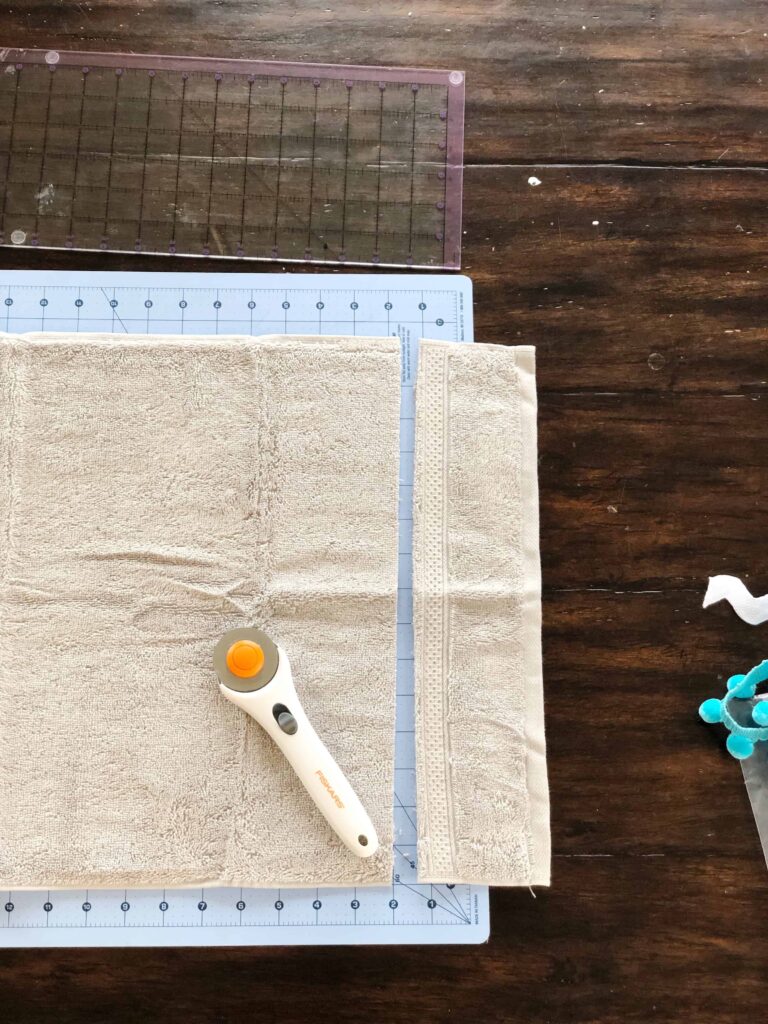
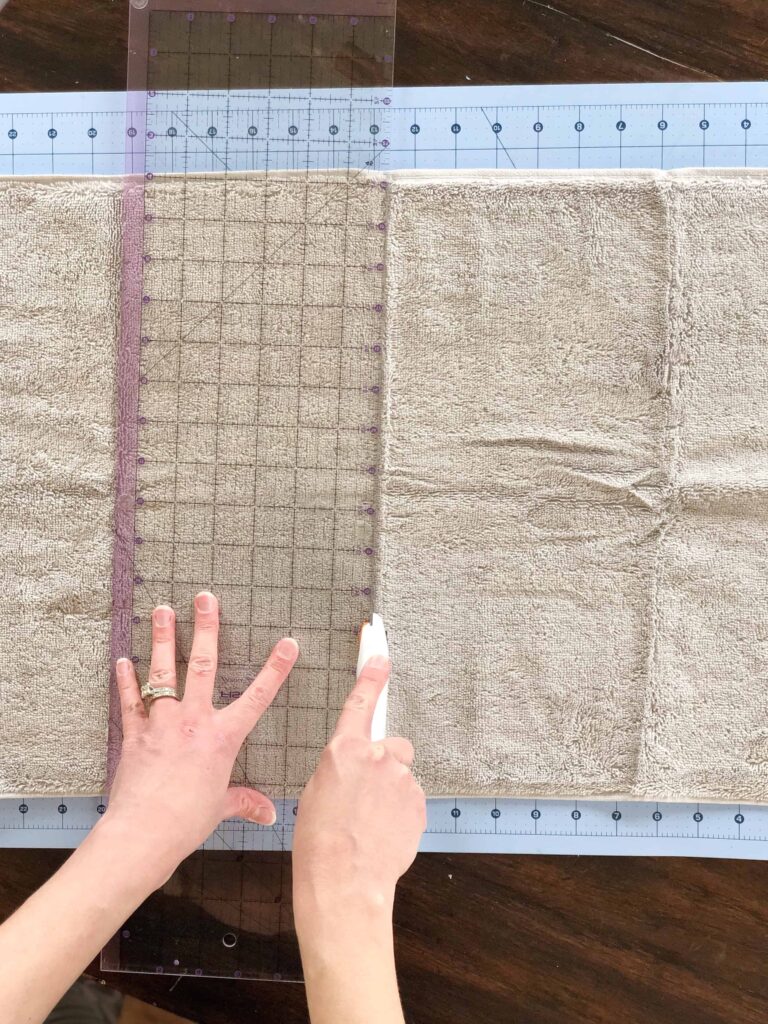
Next, cut the hand towel in half. This will leave you with two hoods.
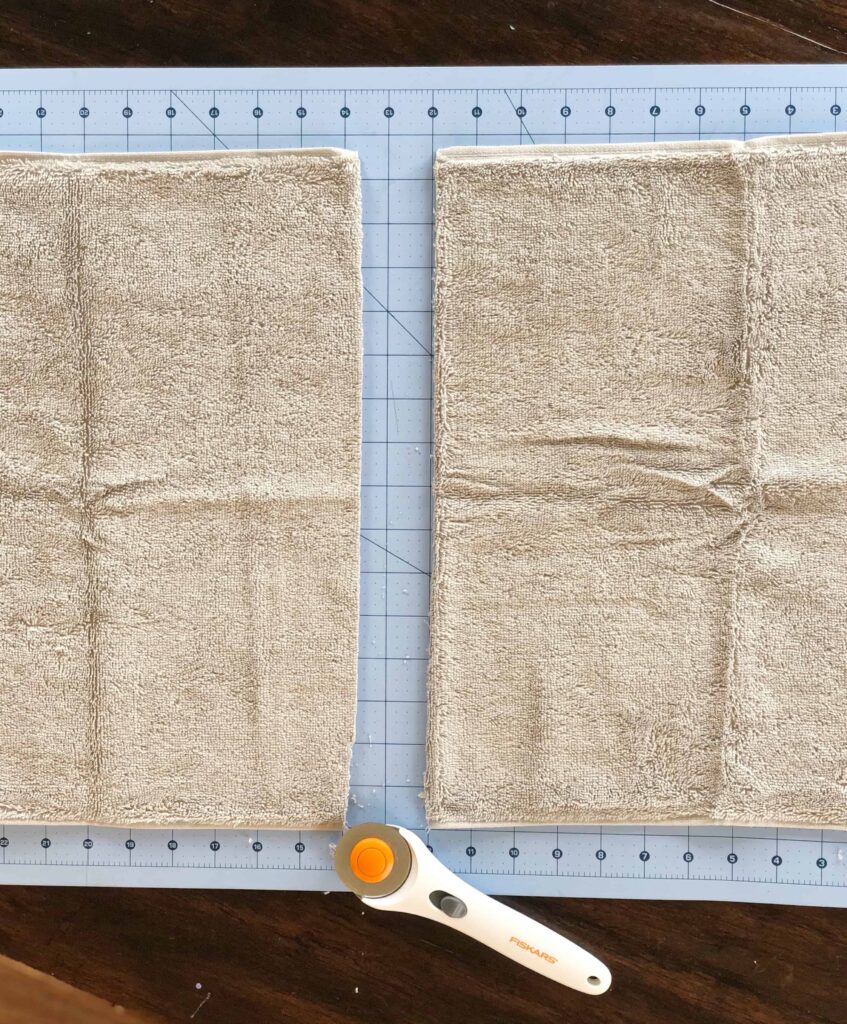
Take one of your hoods and fold it in half.
Turn your hood so that the salvaged edges are on the left and the right hand side and the edges you just cut are on the top and bottom.
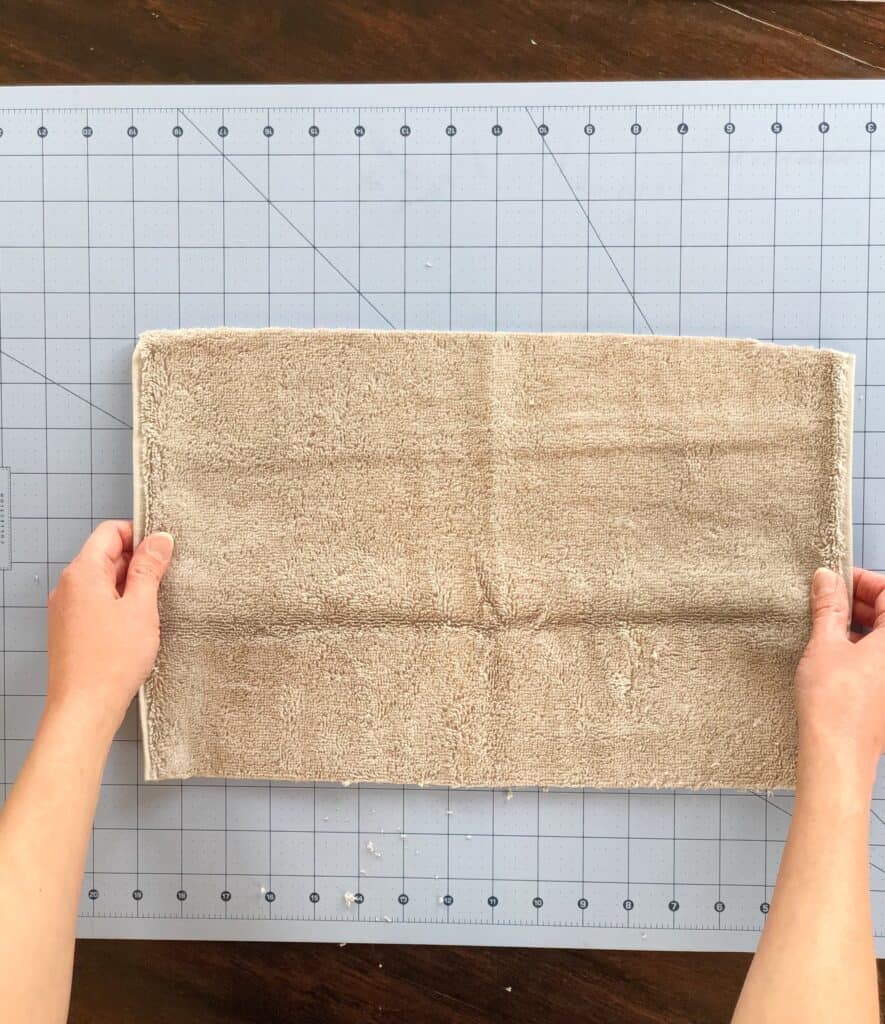
Fold the right side over onto the the left hand side. Now both of your salvage/finished edges are touching on the left and your cut edges are touching on the top and bottom.
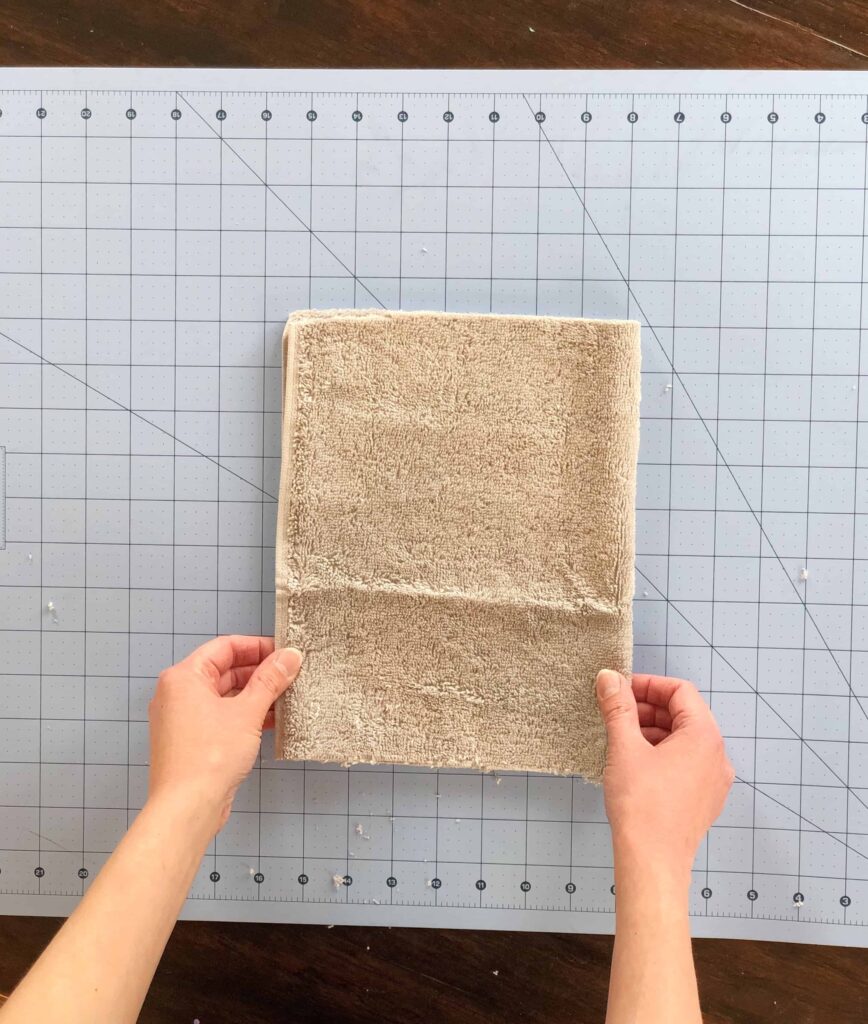
Pin the top edges together
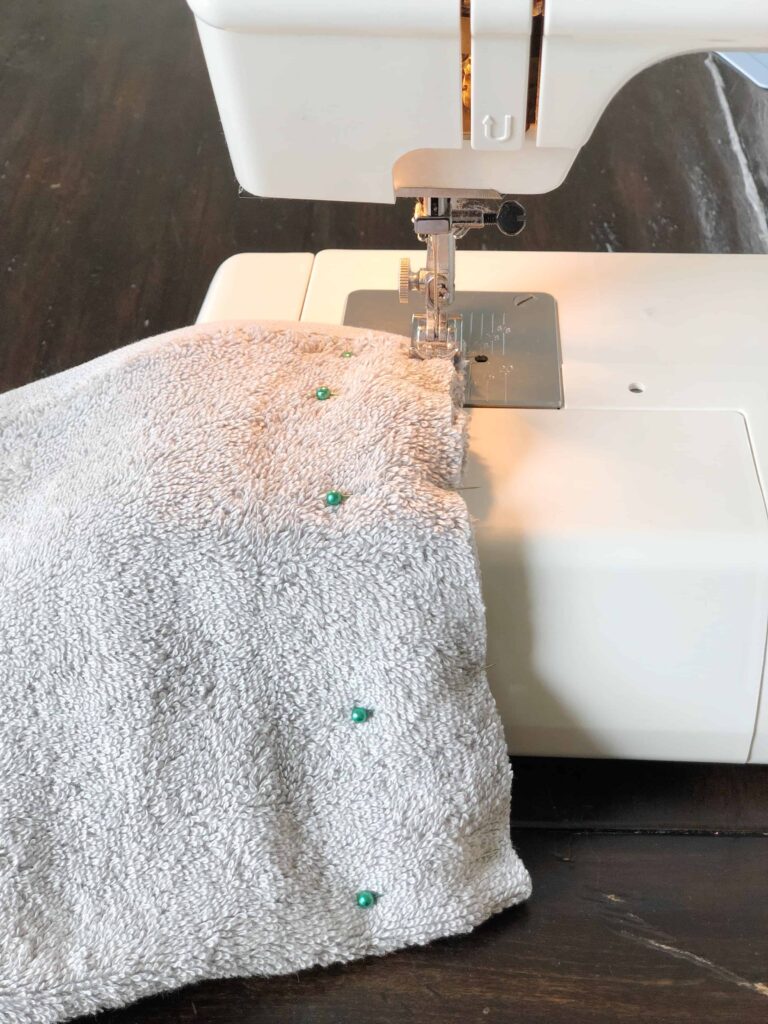
Next, pin the top edges together. This is where you are going to sew.
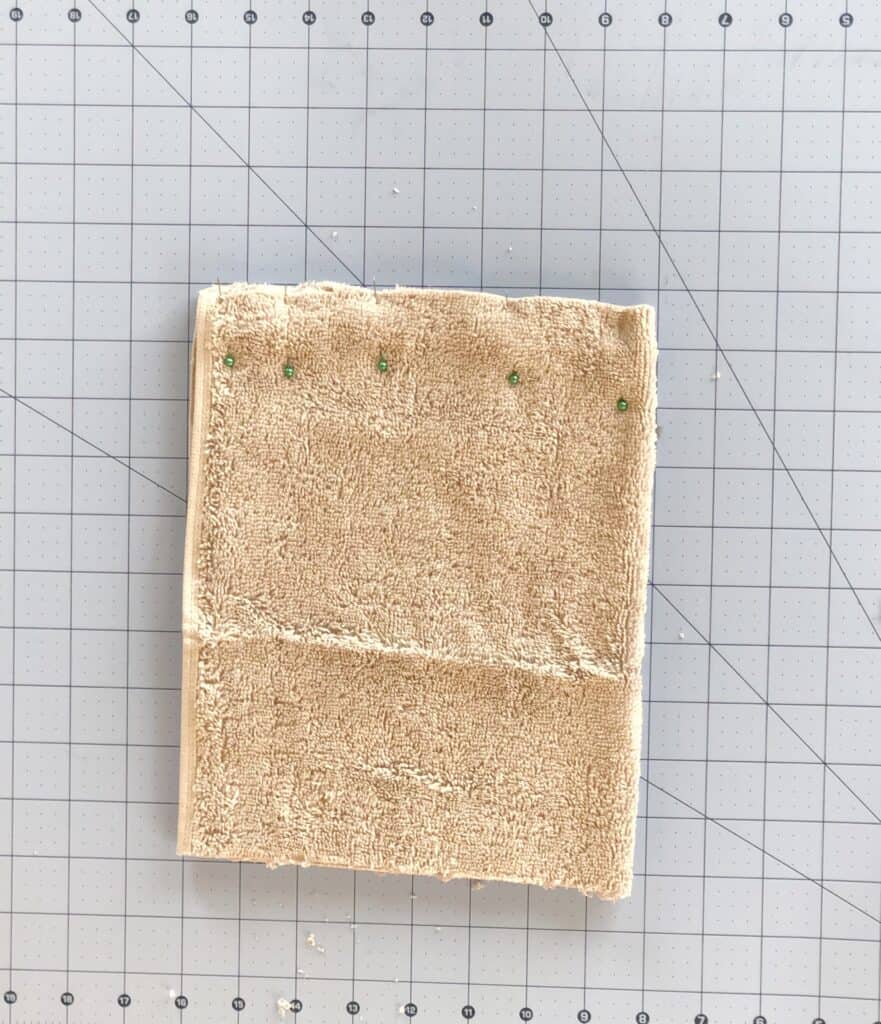
Sew the seam using a straight stitch
Sew this top edge together using a straight stitch and coordinating thread to your towel color. Again, I’m a beginner seamstress so I just use a standard sewing machine foot and a straight stitch on my machine. Sew across removing the pins as you go.
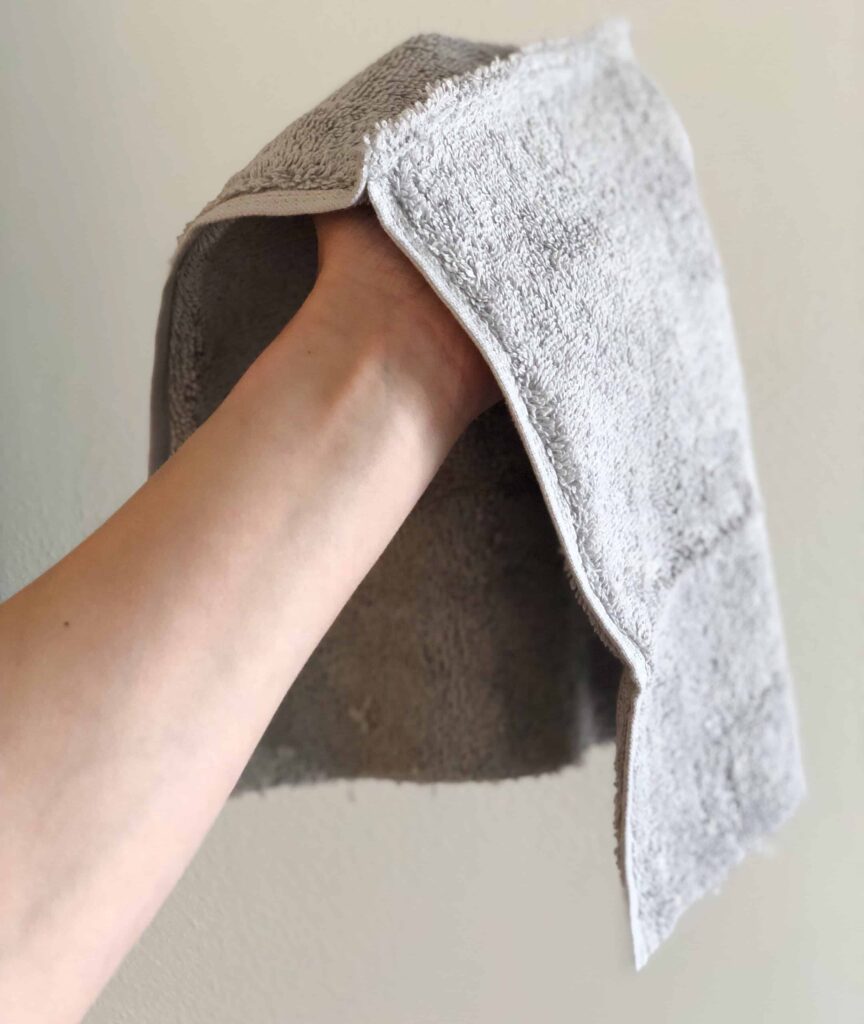
When finished you will have what looks like a hood with the seam at the top. The photo below shows it inside out.
Turn your hood right side out
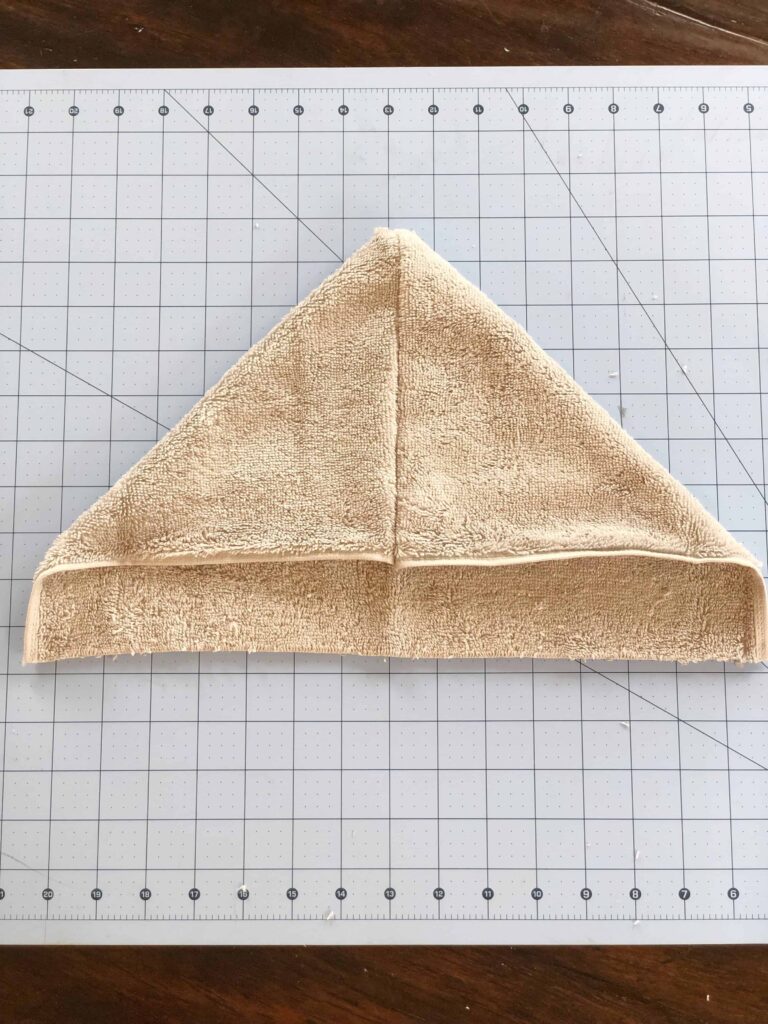
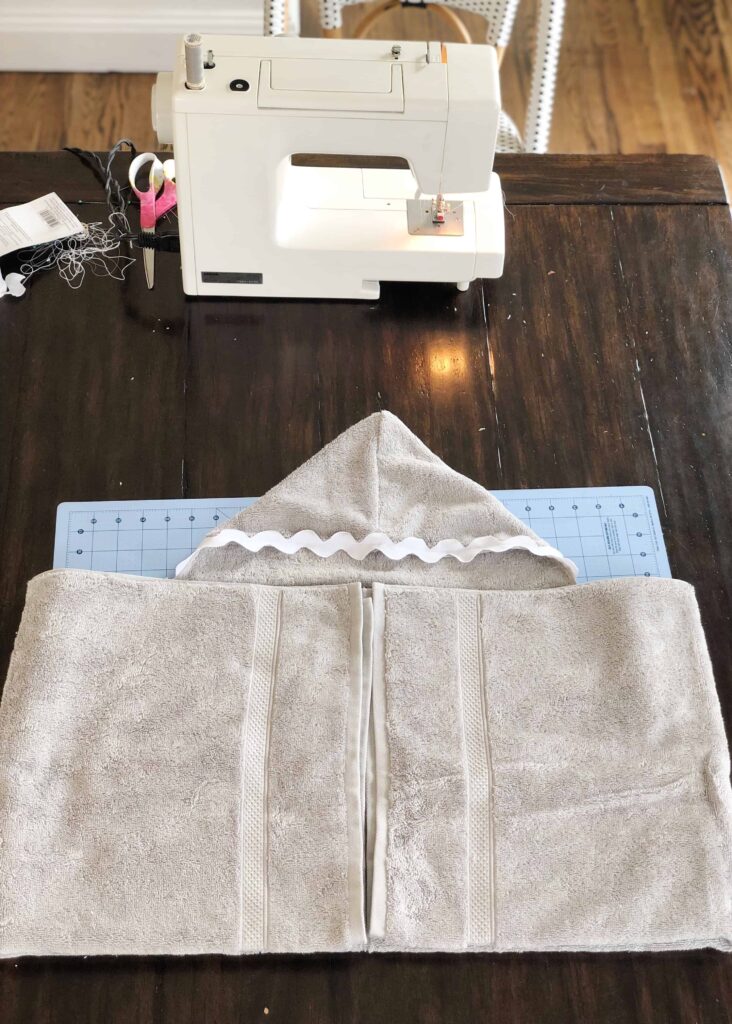
Turn your hood right side out and lay it on a flat surface. You will see in the photo below that now my unfinished edge is on the bottom and my finished edge is above that with the seam going down the middle. It will make a triangle shape when laid flat.
Add your rick rack, trim or ribbon
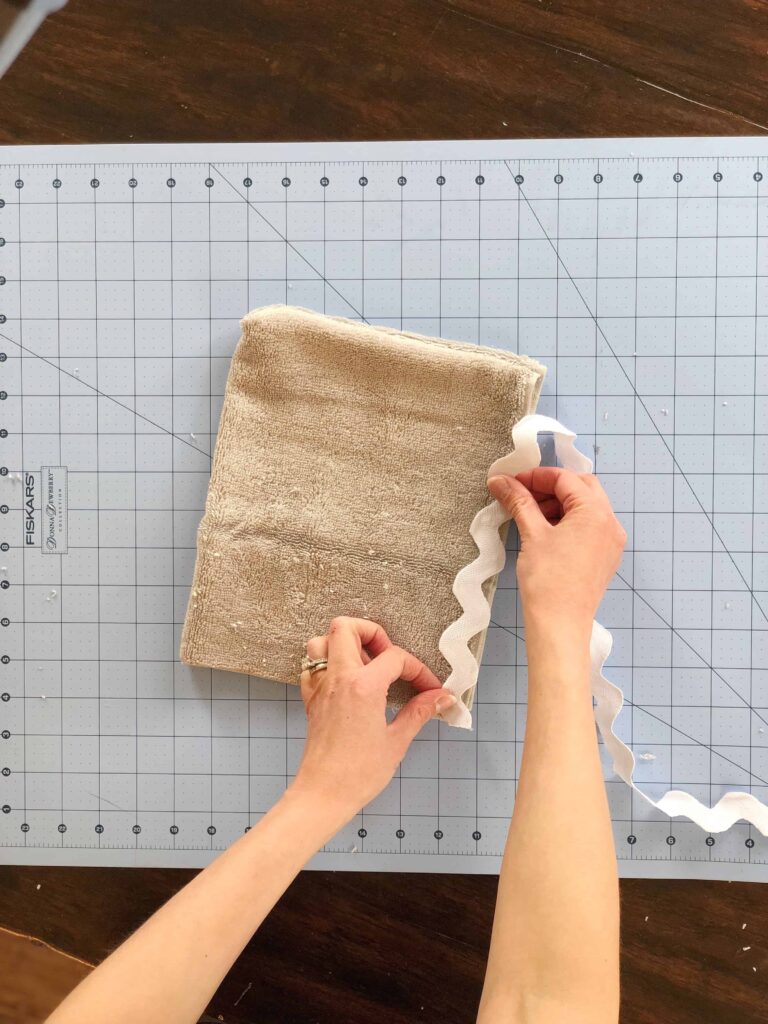
Fold your hood right side out with the seam at the top. The finished edges will be on your right and your unfinished edge will be at the bottom. Place your rick rack, trim or ribbon along the finished edge and pin it together going all the way around the finished edge.
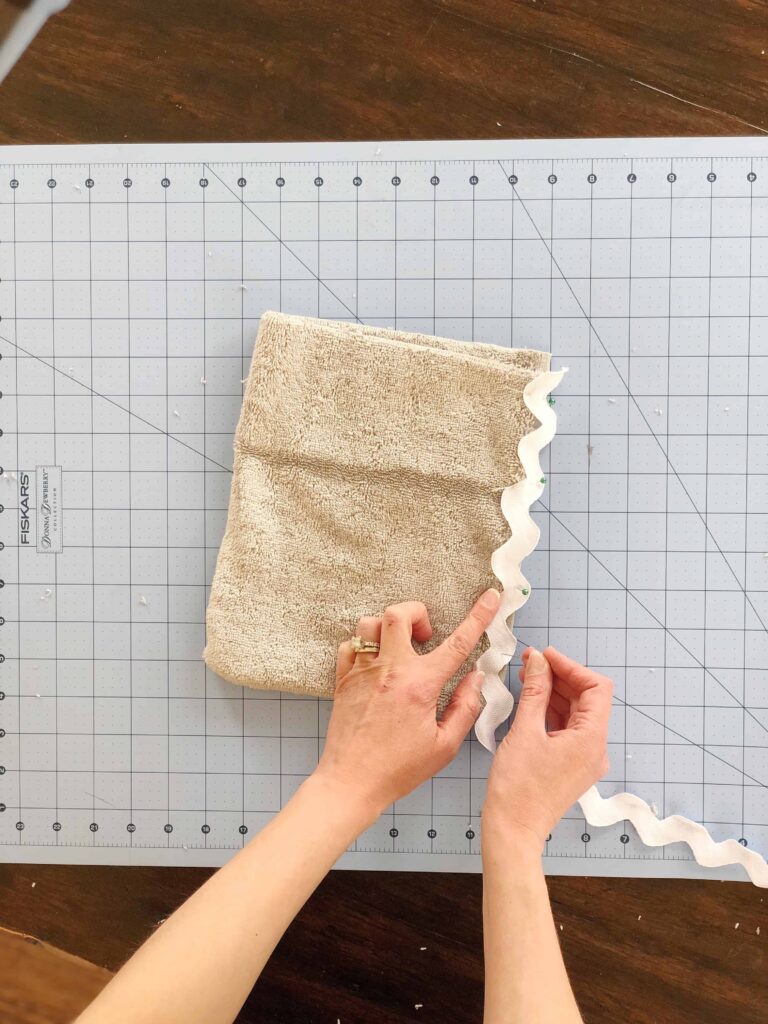
Sew the trim to the hood using a straight stitch.
Switch to a thread that coordinates with your trim if it’s different than your hood. Removing the pins as you go, sew around the finished edge of the hood with a straight stitch being careful that you are sewing through both the hood and the trim.
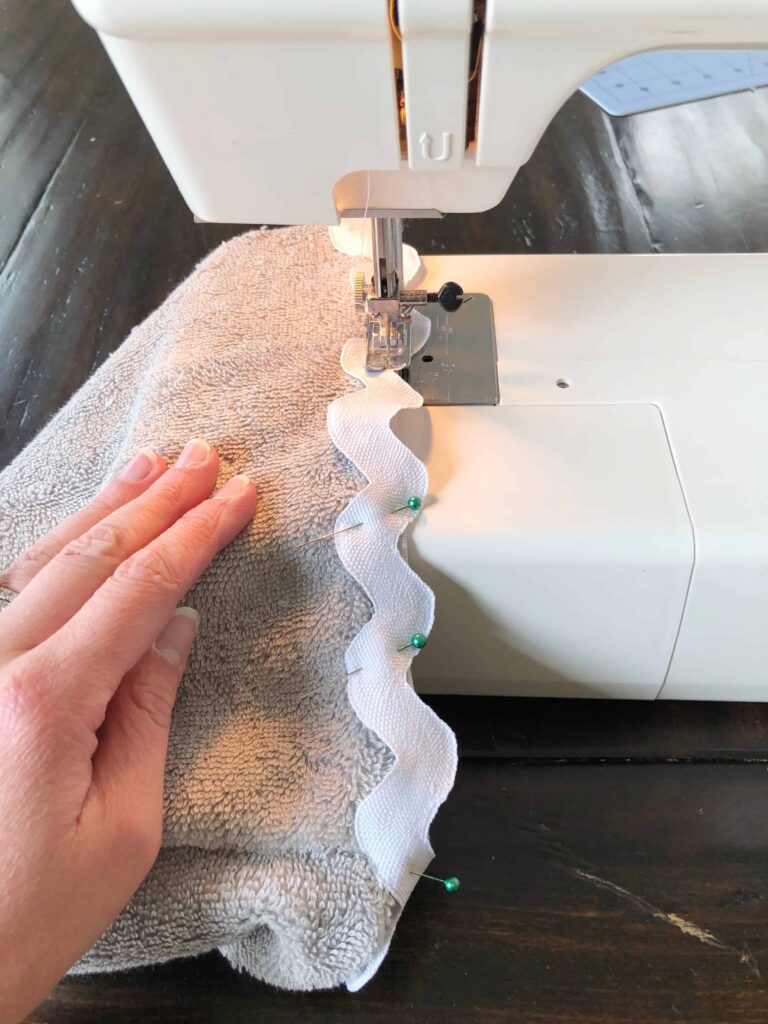
Attach the hood to the bath towel
Next, lay your bath towel down with the long way going left to right and the short side up and down in front of you. Find the middle of the towel (there is usually a crease there from it being folded) and the middle of the hood. Lay the hood’s unfinished edge along the top of the bath towel lining up the middle of the bath towel with the middle of the hood
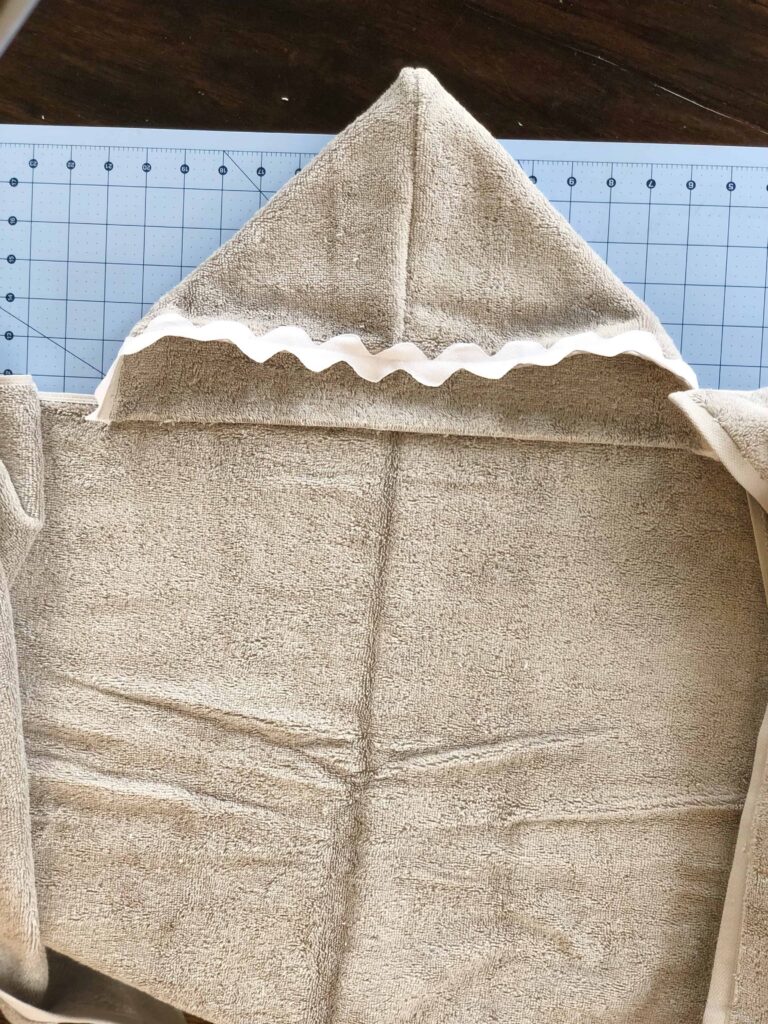
Pin the unfinished edge of the hood to the bath towel.
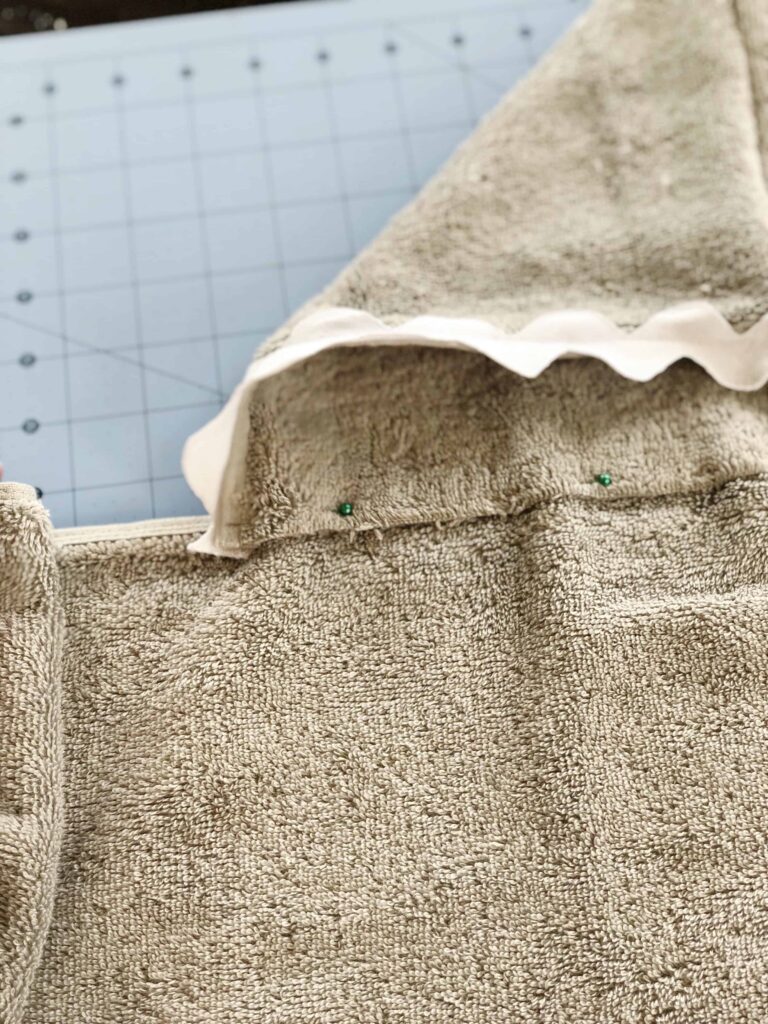
Sew the hood to the bath towel along the edge that you just pinned using a straight stitch.
Using a straight stitch sew along the edge of both the hood and the bath towels where you have pinned them together. Then go back over the edge that you just sewed with a zig zag stitch to secure the edge of the hood to the towel and make a cleaner line.
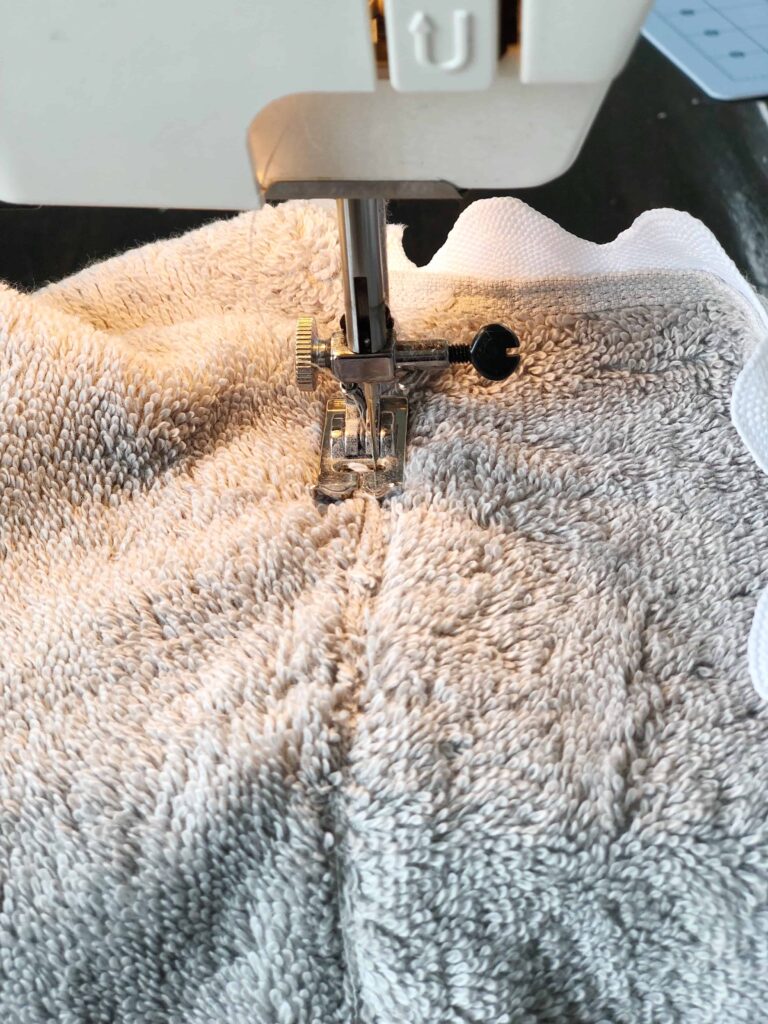
Flip everything over and zig zag stitch over the back finished edge of the bath towel.
Once you flip over the entire hooded towel you will see that the finished edge of the bath towel where you attached the hood sticks up. Using a zig zag stitch sew across this edge making sure the stitch goes all the way over the edge to secure it down. Only sew the length of the hood, not the entire bath towel.
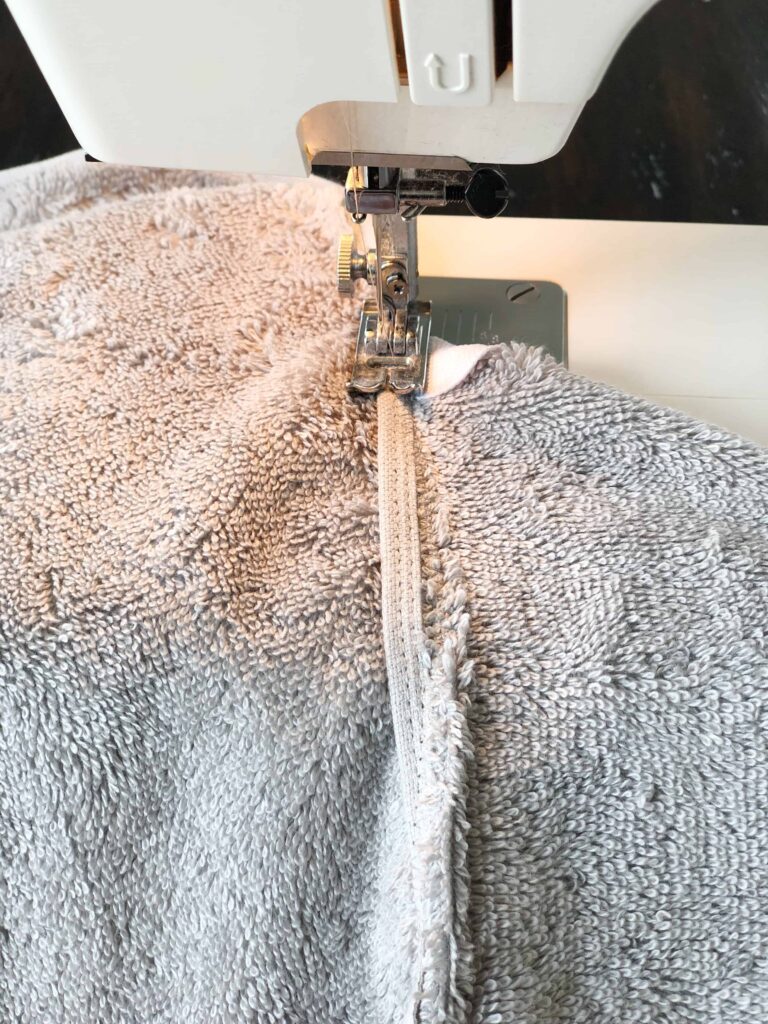
Cut off any loose threads and fold.
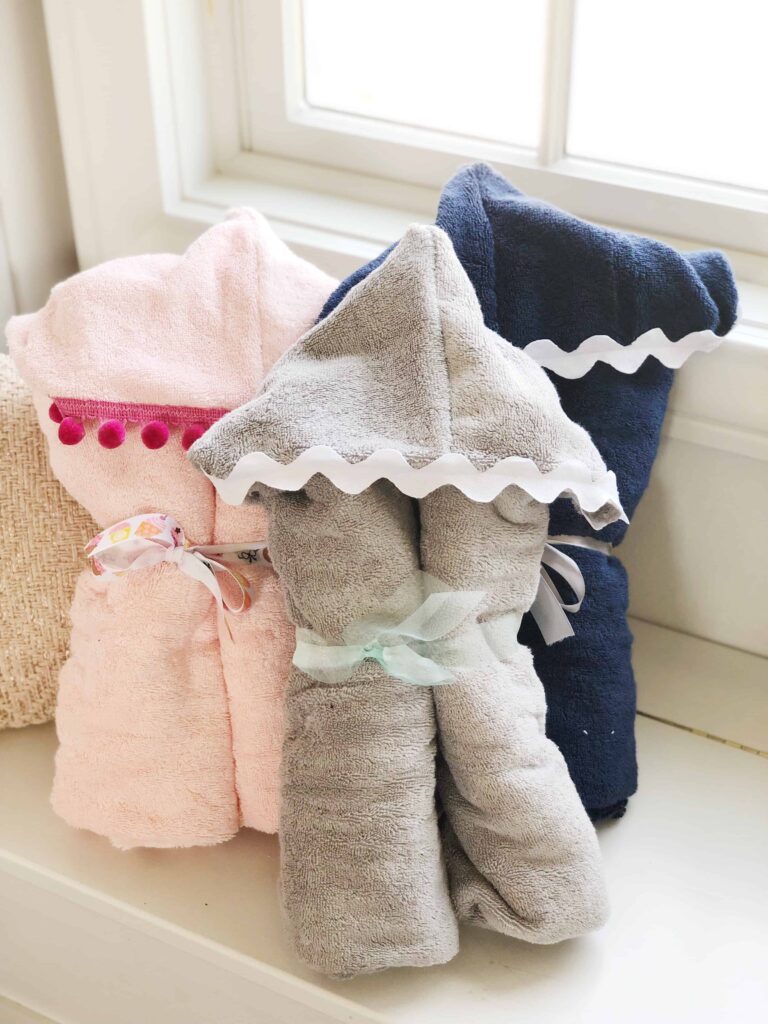
You are done!!! Your hooded bath towel is now complete and you can fold it and either keep it for your family or wrap it up as a gift! To fold mine. I like to bring the bottom half of the bath towel up to meet the top and then fold each side into the middle. After that I roll each side in and tie it with a bow. Leaving the hood out as a little top.
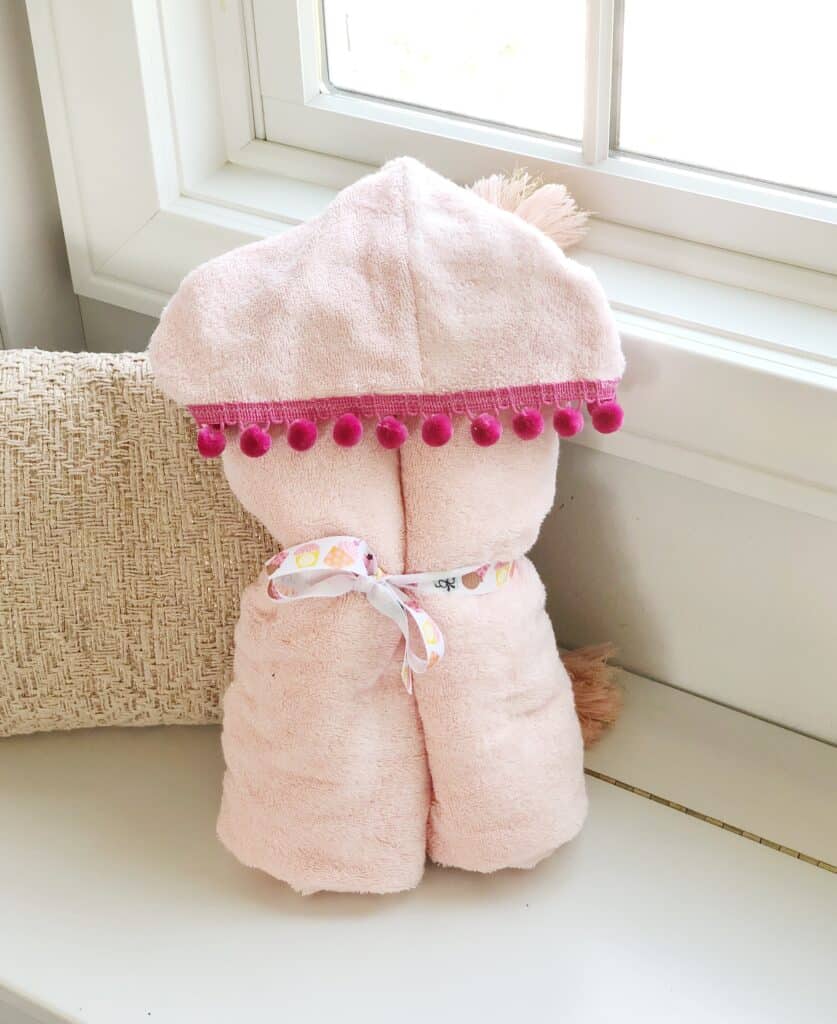


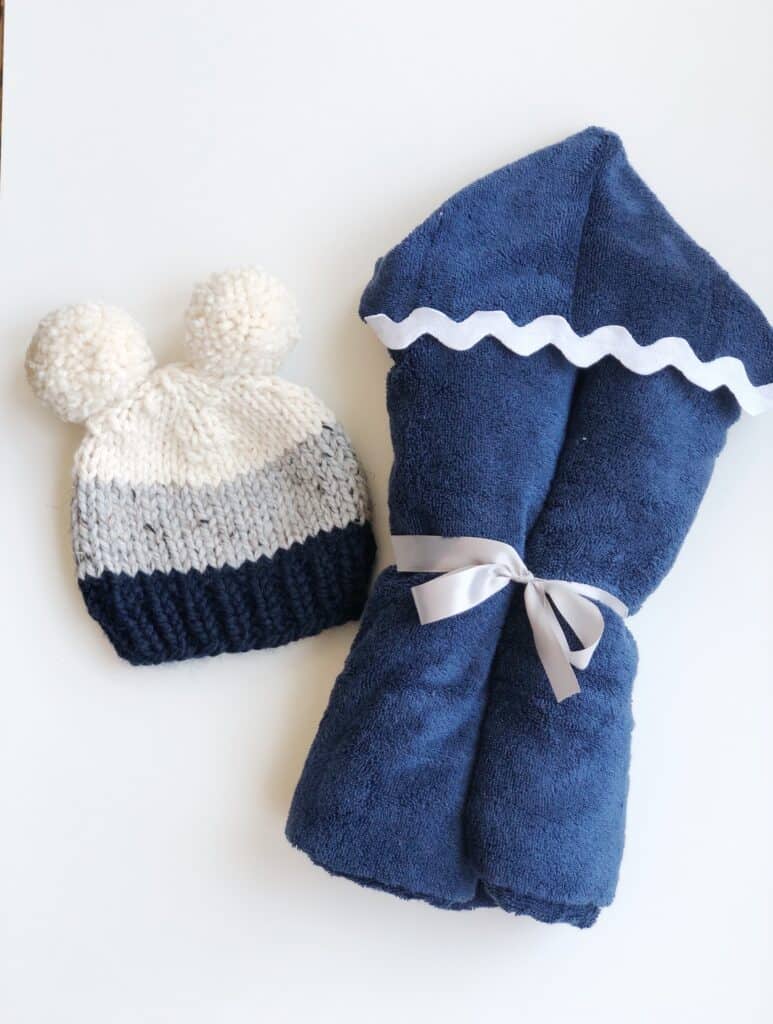
What are some of your favorite things to give or receive as baby gifts? Let me know if you try out my tutorial and what you think! Of course, please contact me with any questions or ways I can help!
Try out my other DIY tutorials here!
