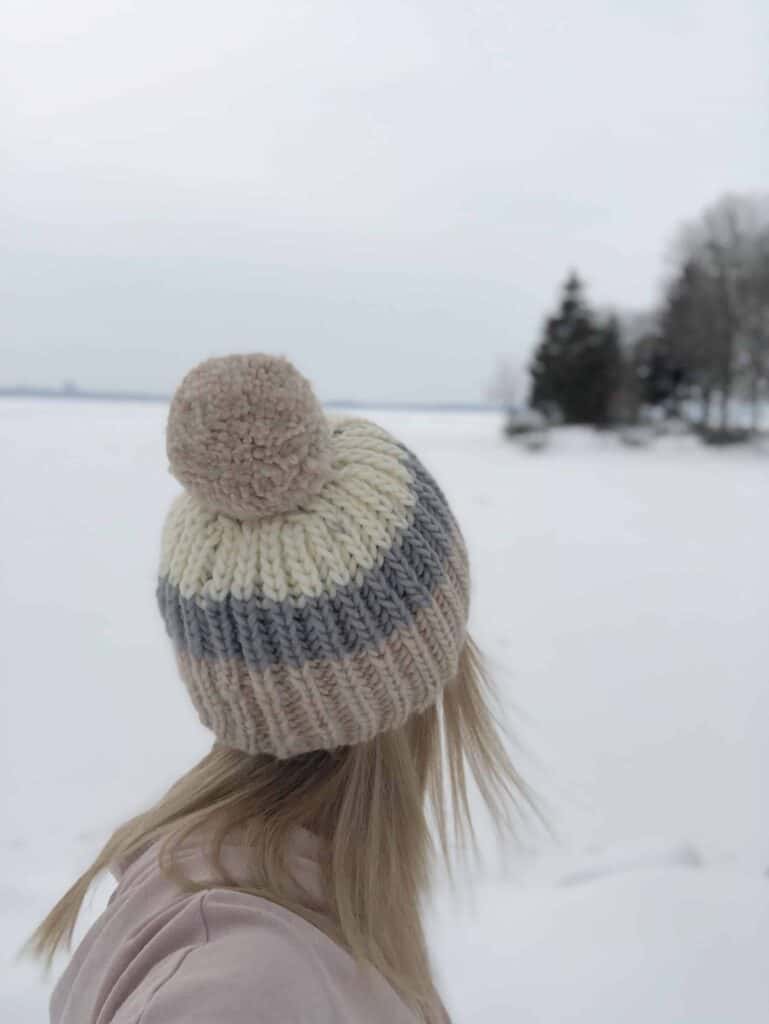
What happens when you pair color blocking with fisherman’s rib stitch? You get a fun and stylish boho hat knitting pattern that is a beginner-friendly! This quick knit, Free Fisherman’s Rib Hat Knitting Pattern is available right here on the blog! Read on to find out my inspiration behind the design and why it was almost named the Atwood Hat.
This post may contain affiliate links. In the event of a sale, I get rewarded a small commission, at no extra cost for you. These funds help me keep my blog up and running to provide you with great content and free patterns so thank you!
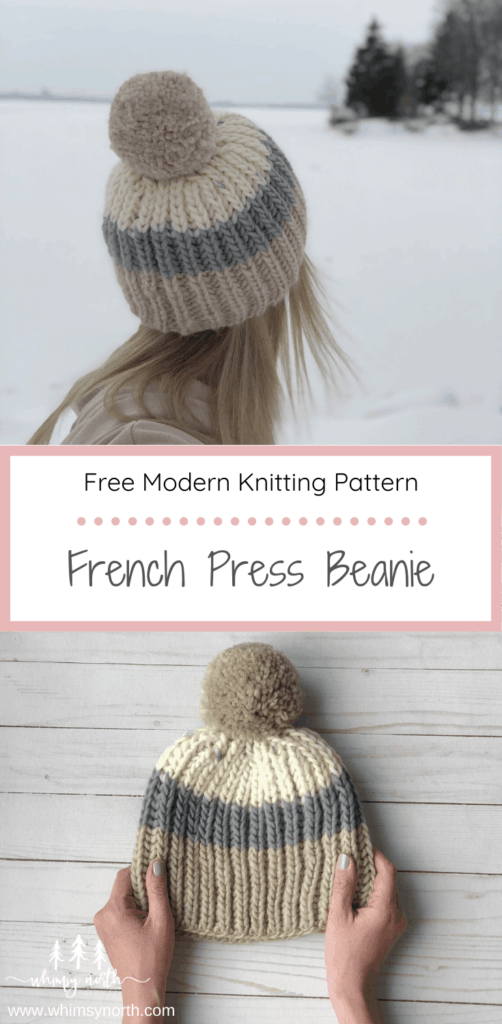
PIN IT!
Is Fisherman’s Rib like Brioche Knitting?
The design for this hat stemmed from my love for brioche knitting. I fell in love with brioche a few years back when some of my favorite knitwear designers started releasing beautiful patterns using this unique stitch.
My first few attempts at knitting brioche were what you could say was “a learning experience!” There were many mistakes and a lot of frustration but I finally figured it out. You can find some of my brioche patterns and tutorials here.
Is Fisherman’s Rib Stitch Beginner Friendly?
After my learning curve with brioche I decided to create a hat that mimicked the brioche stitch but made it a little more beginner-friendly. In comes fisherman’s rib. I did a little research on the fisherman’s rib stitch because the finished fabric looks very similar to brioche. In examining the difference between the two stitches I found that while they are knit differently they essentially create a very similar stitch.
Brioche is created by giving the slipped stitch a little “shawl” that is then knit or purled in the next row and Fisherman’s rib is created by knitting or purling into the stitch below the stitch on your needle to create the extra “shawl” stitch.
Both methods can become easy to knit once you learn the basics, however, I thought for a free blog pattern the Fisherman’s rib would be easier to start with.
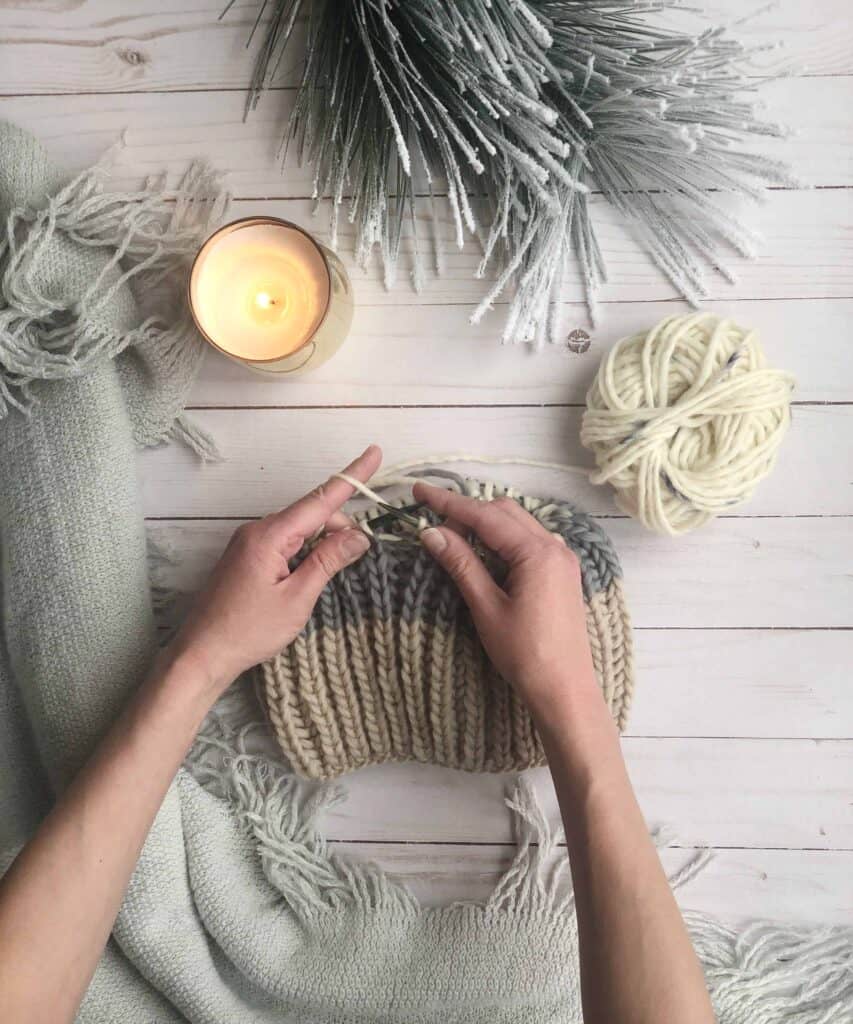
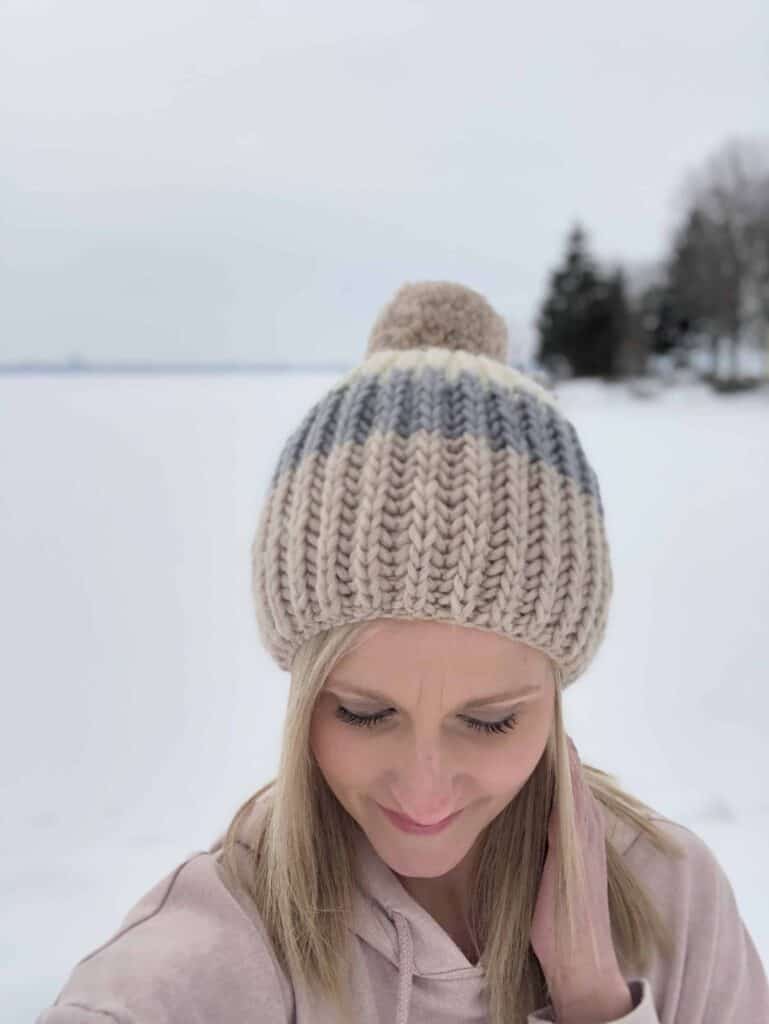
Best Yarn to use for Fisherman’s Rib Hat Knitting
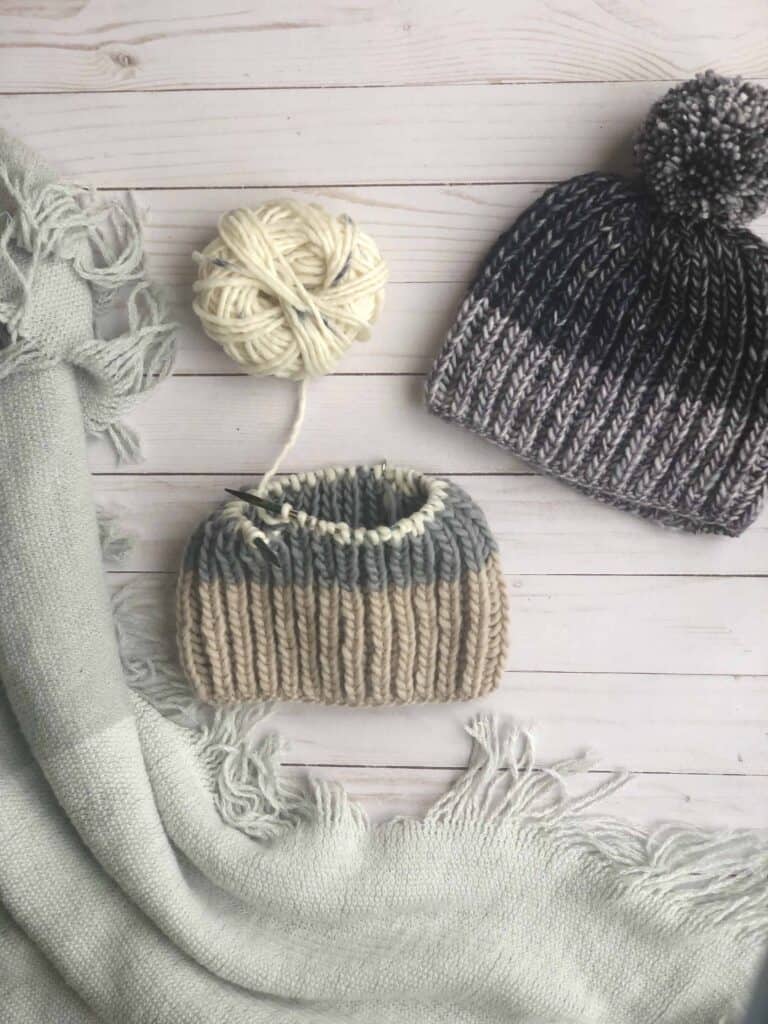
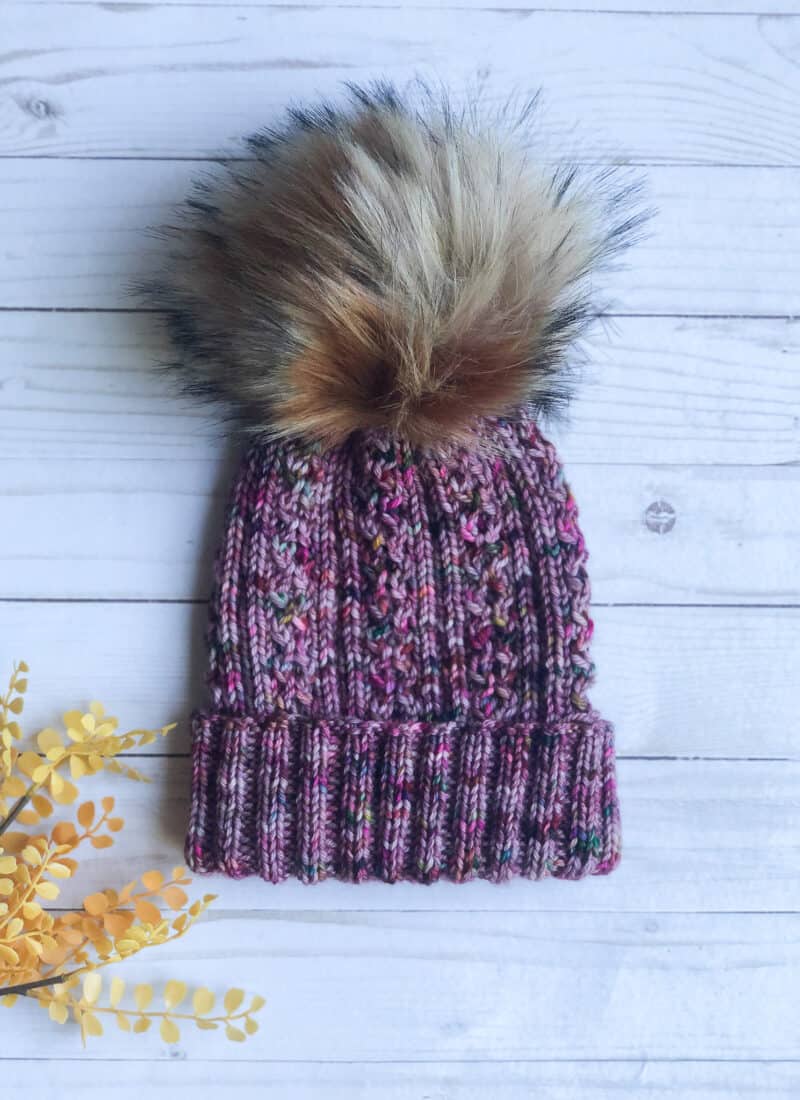
When I was at my local yarn store a few months back I picked up a few skeins of Malabrigo, Mecha in a few different colors. I didn’t have a project in mind for it but I loved the texture and weight. So when I was deciding on yarn for my Fisherman’s Rib hat I knew I had to try it in Mecha.
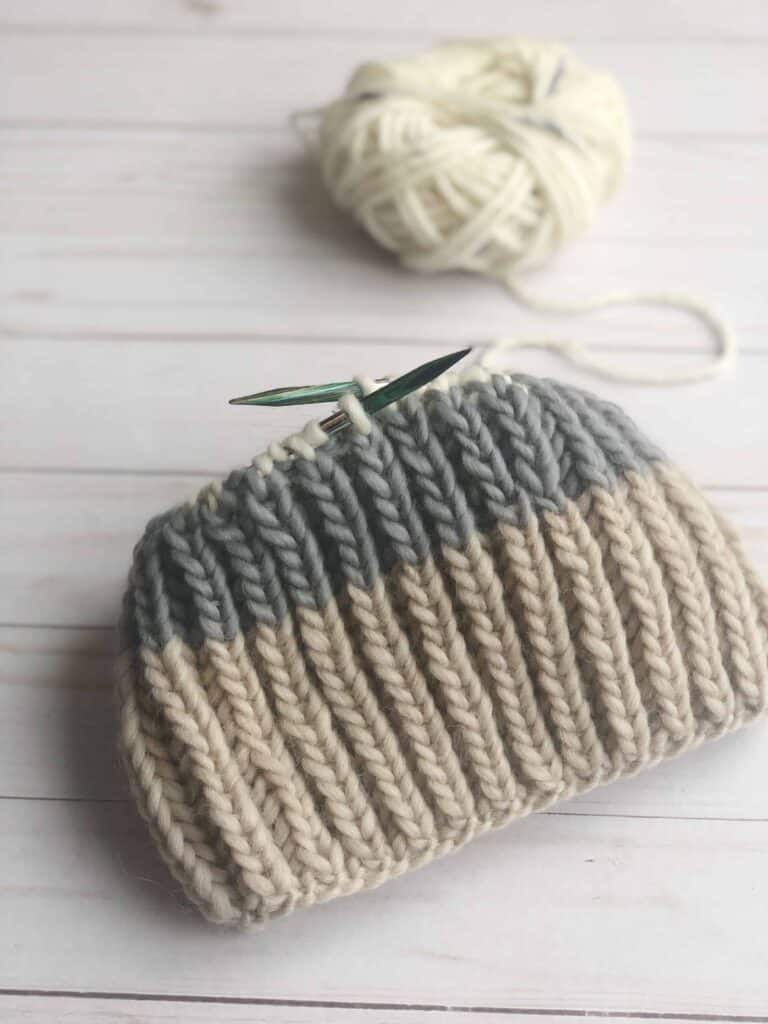
I know from previous projects that although it’s listed as a bulky weight yarn, it has some thick and thin sections and therefore knits up to be more of a light bulky weight. It was a dream to work with and I love how my first sample turned out! To top it off, I added a yarn pom as I felt like this style hat looked better topped with yarn versus a faux fur pom.
For my second hat sample, I wanted to try out using We Are Knitters, The Petite Wool. (Use my We Are Knitters Friends Code MGMTU5LO5 to receive $12 off your first purchase! Click here to shop.) Again, even though it’s listed on their website as a Heavy Worsted yarn, I know from experience that it knits up more like a light bulky and can be used interchangeably with Malabrigo’s Mecha.
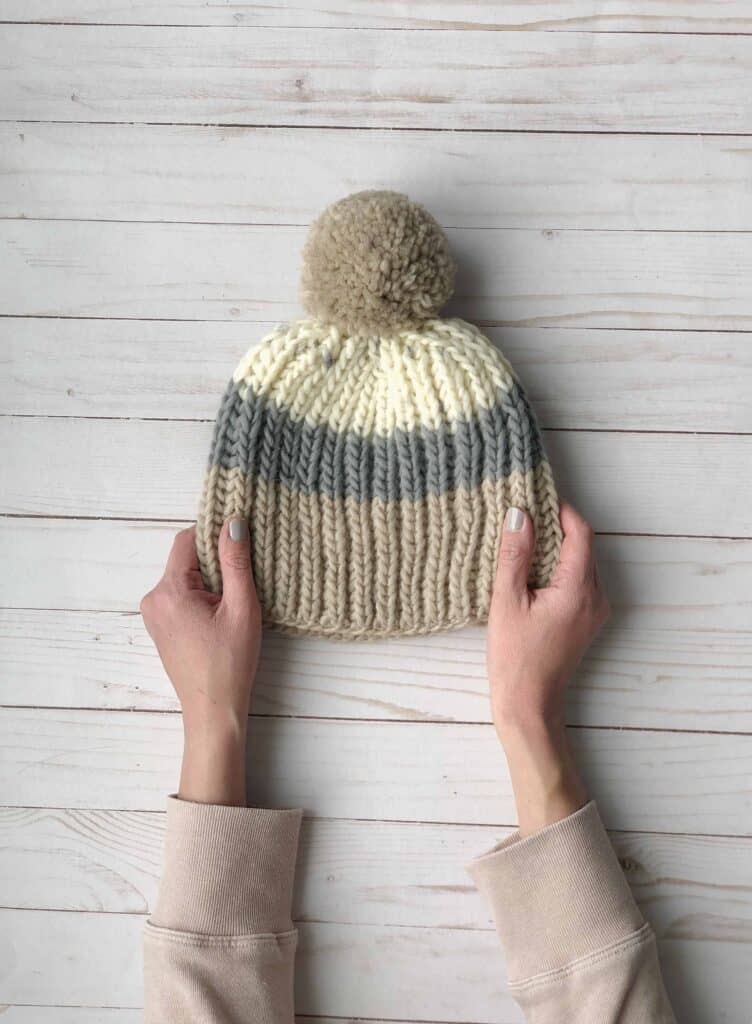
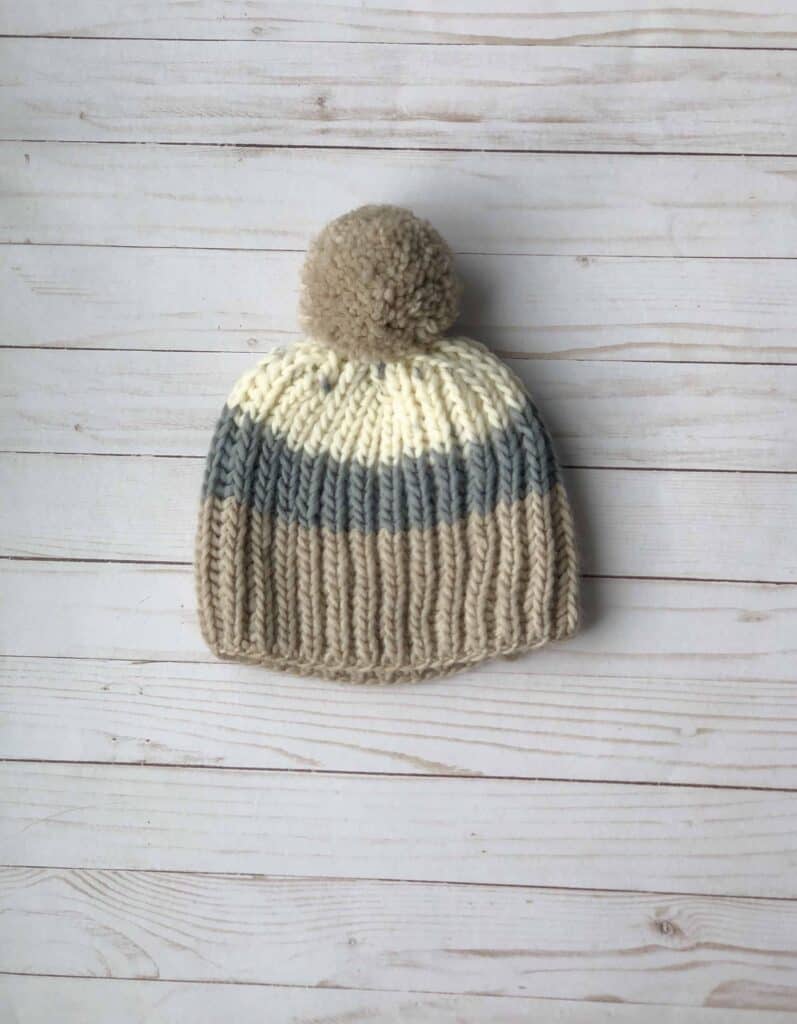
This time I grabbed some leftover skeins from other projects and chose to add a little more color blocking. I absolutely love the way it turned out!
Want new free pattern notifications sent directly to your email? Join my newsletter and receive a 10% coupon code just for signing up!
How to Style a Fisherman’s Rib Hat
One of the things I love about this hat is it’s fit. Due to the fact that there isn’t a tight brim it has a looser fit on your head. To all those out there that like me don’t enjoy taking your hat off for fear of hat hair… look no further than the French Press Beanie!
My coworker called me out the other day because here I am a hat knitwear designer and I never wear hats! I live in the frozen tundra of Wisconsin where hats are very practical but for me, I never liked how they ruined my hair.
This hat solves this problem! It is practical and doesn’t mess up your hairstyle. I call that a win!
For those that like a little more of a slouchy hat look you can style it back further on your head or add another inch of length and make it even slouchier!
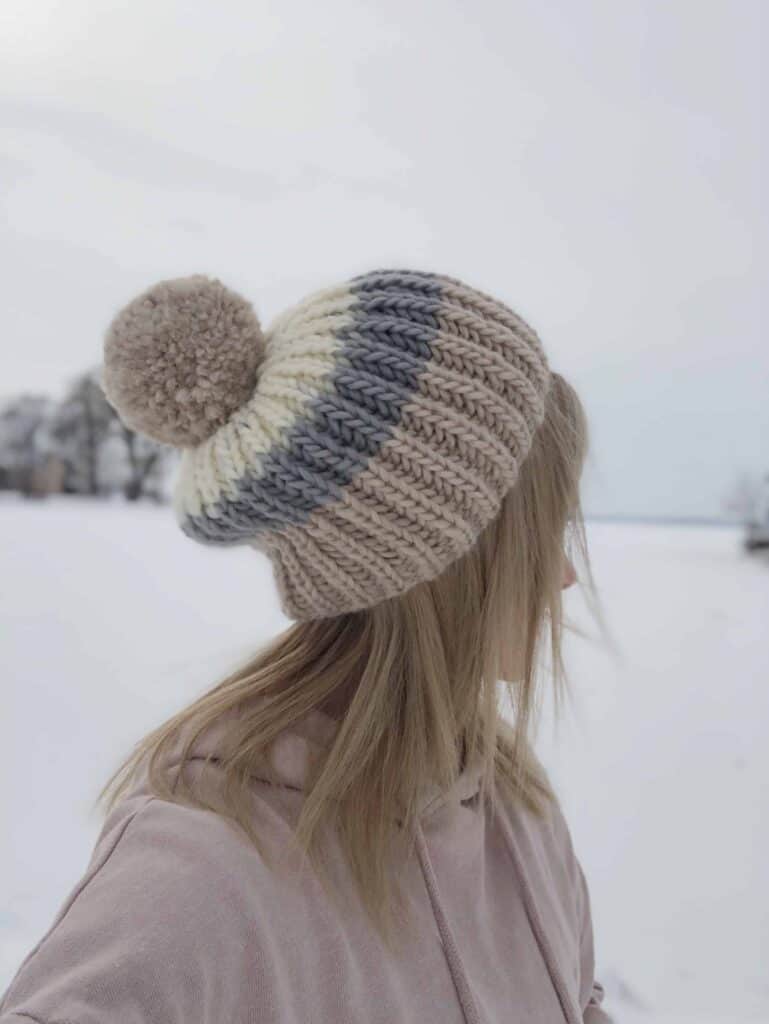
French Press Beanie – Free Fisherman’s Rib Hat Knitting Pattern.
If I could hire someone to do one thing for me it would be to name my patterns. For real! For some reason, this is one of the most challenging things. Even when I do finally name something I never really like it.
For this hat, I reached out to my Instagram followers for help. One person suggested I name it after a street in my neighborhood. I thought that sounded like a wonderful idea so I went to google maps are started looking around. Slowly I began to realize that living in a Capital City doesn’t make for very fun street names unless I wanted to name it after a previous President or political powerhouse from Madison.
One name I did consider was the Atwood Hat due to a neighborhood in Madison that has a hip bohemian feel just like this hat. In the end, I wasn’t sold on that name.
Another person suggested the name Mocha Latte. That was close to the feel I was trying to convey with this hat, however, I wasn’t sure it translated to the original sample I made. I did feel like this hat with its boho style reminded me of a cafe barista in California but I wasn’t 100% certain about having the name Latte in it.
That’s when I came across the name French Press. It has the same coffee house feel as Mocha Latte with a little more sophistication. So there’s a little behind the scenes of how I name my patterns. Any and all recommendations for the future are welcome!

French Press Beanie Pattern
- Get the large print, ad-free, printable PDF pattern here.
- Pin this to your Pinterest board for later here.
- Add this to your Ravelry queue here.
- Find more FREE knitting patterns here.
Supplies:
- Approx. 90 Yards of Light Bulky or Heavy Worsted Yarn (Weight 5) Sample is knit using We Are Knitters, The Petite Wool (Use my We Are Knitters Friends Code MGMTU5LO5 to receive $12 off your first purchase! Click here to shop.)
- Needles: US 9/ 5.5mm, 16” circular knitting needle (This is my favorite interchangeable needle set and cords!) and US 9/ 5.5mm, 36″ circular needles (for magic loop) or DPNS.
- Notions: Tapestry Needle, Stitch Marker, Scissors, Large Pom Pom Maker (Optional)
Gauge:
10 sts & 12 rows = 4”/10cm. Worked over fisherman’s rib stitch in the round.
Finished Measurements:
- Height 8″
- Width 9″
Notes:
- This hat can be knit using any amount of colors. Keep it simple by using only one color or grab some leftover yarn in your stash and experiment with color blocking!
- For help with the Twisted German Cast-on, visit my YouTube Channel. “How to do a Twisted German Cast-on”
- This video on how to do the Fisherman’s Rib stitch can help you understand the K1b and P1b stitches.
Glossary:
- ST(S) = Stitch(es)
- BOR = Beginning of round
- DPN = Double Pointed Needles
- CO = Cast On
- K = Knit
- P = Purl
- K1b = Knit 1 Below (Knit into the stitch below the next stitch)
- P1b = Purl 1 Below (Purl into the stitch below the next stitch)
- SL1, K2TOG, PSSO = Slip 1 stitch purl-wise, knit 2 together, then pass the slipped stitch over as if you are casting it off. (Decrease)
- Rep = Repeat
- PM = Place Marker
Directions:
Using size US 9/ 5.5mm needles; CO 56 sts using the Twisted German Cast on and join in the round, be careful not to twist sts. Place a stitch marker to mark the beginning of the round (BOR).
Set-up Round: *K1, P1; Rep from * to end of round.
Round 1: *K1b, P1; Rep from * to end of round.
Round 2: *K1, P1b; Rep from * to end of round.
Repeat rounds 1 & 2 until your hat reaches 7” from the cast-on edge. For a slouchy hat continue knitting rounds 1 & 2 for an additional 1” for a total of 8” from cast-on edge.
Color Blocking: The sample is created by kitting 3” of the first color, 2” of the second and 2” of the third color. The third color is then also used for the decrease section.
Decrease Rounds:
Switch to DPN’s or magic loop if desired.
Round 1: *(Sl1, K2Tog, PSSO), P1, K1b, P1, K1b, P1; Rep from * to end of round. {42 sts}
Round 2: *K1, P1b; Rep from * to end of round.
Round 3: *(Sl1, K2Tog, PSSO), P1, K1b, P1; Rep from * to end of round. {28 sts}
Round 4: *K1, P1b; Rep from * to end of round.
Round 5: *(Sl1, K2Tog, PSSO), P1; Rep from * to end of round. {14 sts}
Round 6: *K1, P1b; Rep from * to end of round.

Finishing:
Cut yarn, leaving an 8”/ 20cm tail. Using your tapestry needle, thread the tail through the remaining stitches and pull tightly to close the top of the hat. Weave in all the ends.
Using your pom pom maker, create a pom pom and attach to the top of the hat. The sample pom pom was created using a Clover Large pom pom maker size 3 3/8.
Make sure to follow me on Instagram and Facebook and tag me with your finished projects! You can find me @whimsynorth and use the tag #frenchpressbeanie so others can view your creations!
- Get the large print, ad-free, printable PDF pattern here.
- Pin this to your Pinterest board for later here.
- Add this to your Ravelry queue here.
- Find more FREE knitting patterns here.





Love this pattern. I have had 5skeins of WAT the Petite Wool for awhile and couldn’t find just the right pattern. This is it! Question, how do you knit the colour block so you don’t get broken line of different colour. (There’s probably a correct term for that?)
Yeah! I’m so happy to help you be able to use your WAT Petite Wool! To prevent a broken line I made sure to start a new color on round 1 each time. I hope that helps!
Hi am about to make this hat. I just wanted to ask about the color block. If you start with row one which is a k1 p1 below don’t you get the purl blips. On regular k1 p1 I usually knit one row, no purl to avoid this problem. That for your response.
Hi! Great question. With the way, the fisherman’s rib shows up you won’t see the purl rib on the color change. Let me know if I can help in any other way!
Hi! I want to use your pattern to make a hat but I’m not sure if it’s gonna fit me as my head size is about 22 inches. Will 9″ wide hat fit me or should I increase the number of stitches while casting-on?
This hat is very stretchy due to the nature of the brioche. You could try knitting it as is to see if it fits. If not, adding stitches in multiples of 2 should work to make it larger.