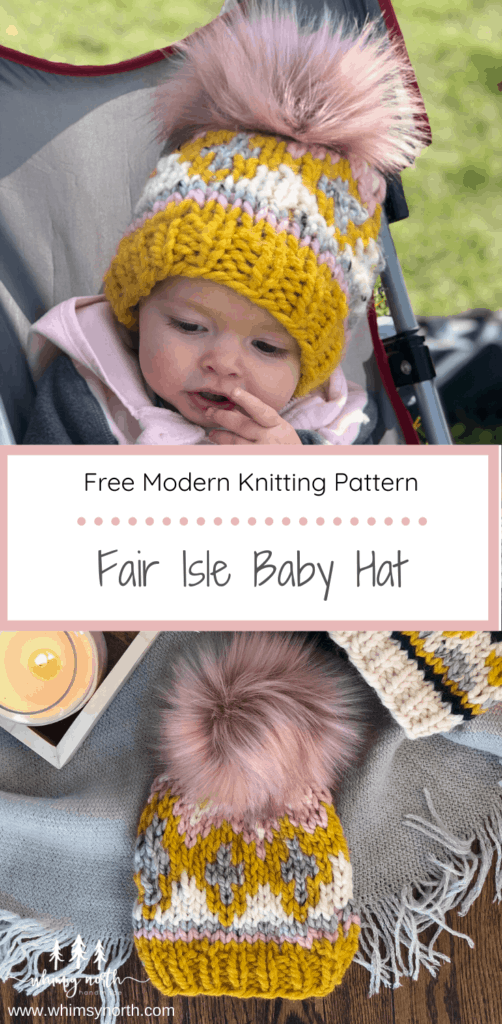
Fair Isle knitting was listed as one of Etsy’s top searches for 2019. With all of the beautiful fair isle patterns out there I can see why it’s growing in popularity. I was inspired to jump on the fair isle bandwagon last year when I saw a fair isle knit hat in a store. The fun colors and diamond pattern caught my eye and I knew it was time to design my own fair isle hat pattern.
This post may contain affiliate links. In the event of a sale, I get rewarded a small commission, at no extra cost for you. These funds help me keep my blog up and running to provide you with great content and free patterns so thank you!
This pattern was originally released in my Etsy and Ravelry shops last fall and the full PDF pattern includes sizes Newborn, Baby, Toddler, Child, Adult S/M, and Adult M/L.
I love inspiring and being a part of this knitting community so much that I decided to publish the Baby version of this pattern for FREE right here on the blog! Read on about my inspiration and what yarn I recommend or scroll down for the free pattern.
Fair Isle vs. Stranded Colorwork
If you found this free pattern after reading my post “Fair Isle vs. Stranded Colorwork – The Glimmer Beanie” then you know my secret behind this pattern. If you haven’t yet read that post I recommend you hop over there first to read the behind the scenes on my design for this hat pattern.
PIN IT!
It’s all about the yarn!
Before we get into the pattern I want to make a quick mention about yarn selection. Over on my “Fair Isle vs. Stranded Colorwork” post, I go into detail about my love for Lion Brand Yarn’s Wool-Ease Thick and Quick. I’ll let you read over there as to why I love this yarn so much but here I’m going to mention something about color value and yarn selection.
This hat pattern truly shines when you use Lion Brand Yarn’s Wool-Ease Thick and Quick. This is due to the stitch definition and color selection options. I tried using other yarns that were more of a lightly felted single-ply yarn with tonal colorings and the fair isle pattern got lost.
The pattern calls for 4 different colors of yarn and in my experience, you can knit 4-5 different coordinating hats, depending on sizes you choose just with those 4 balls!
Want new free pattern notifications sent directly to your email? Join my newsletter and receive a 10% coupon code just for signing up!
Baby Shower Gift, Mommy and Me Set, Sibling sets…
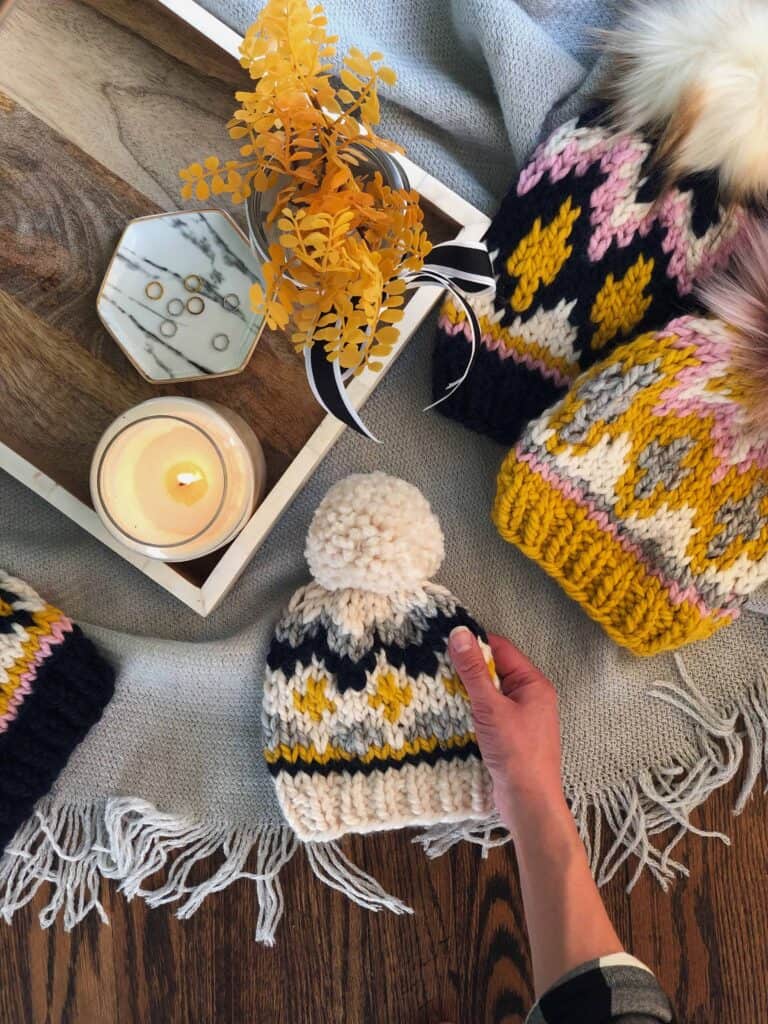
This hat has become my mothers-in-law’s go-to baby shower gift. Every time someone has a baby she asks me to knit one up for her. She says it’s the talk of the shower… then she shamelessly hands out my business card. Got to love the free word of mouth advertising from family!
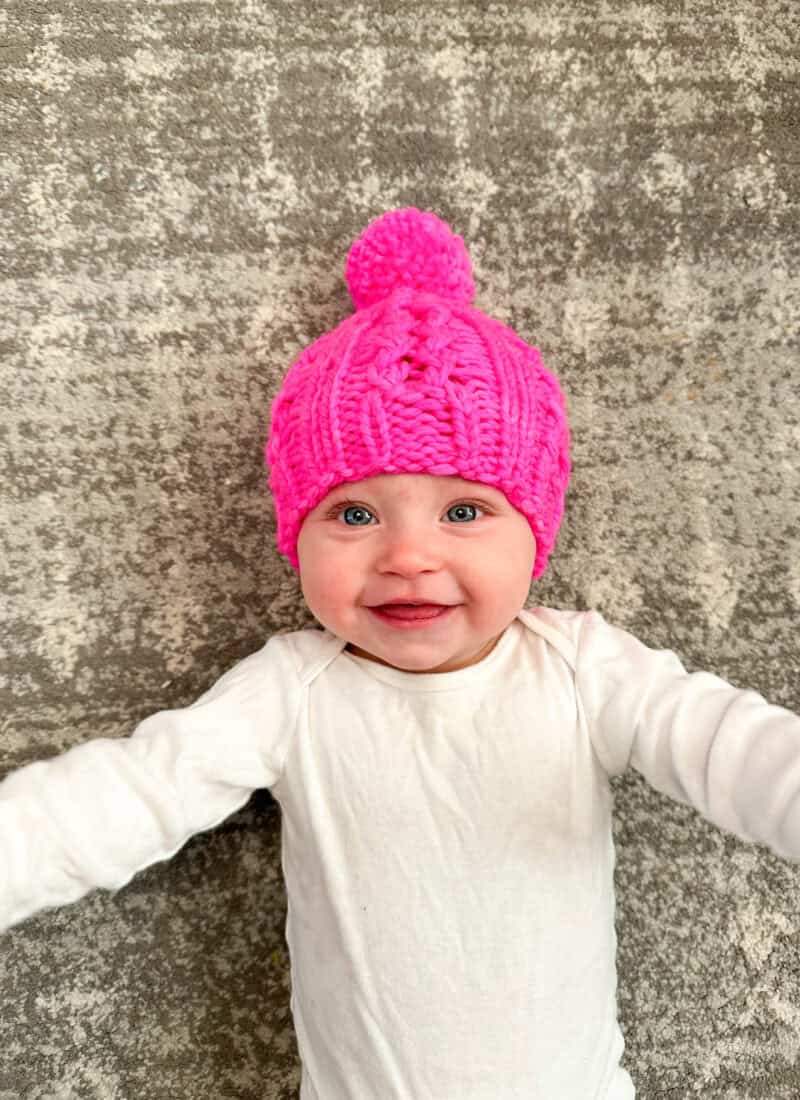
I personally knit up a matching sister set of this pattern with coordinating colors and my 7-year-old daughter and 1.5-year-old daughter look so stylish in their coordinating fair isle beanies!
This also makes the cutest mommy and me matching hats. I’ve seen a few of those on Instagram (here is a link to #glimmerbeanie on Insta) they are so cute!
Fair Isle Baby Hat Knitting Pattern
- Get the large print, ad-free, printable PDF pattern here.
- Pin this to your Pinterest board for later here.
- Add this to your Ravelry queue here.
- Find more FREE knitting patterns here.
Skill Level: Intermediate
Supplies:
- Approx. 53 Yards of Super Bulky Yarn (Weight 6) Yardage for each color’s specific yardage needs.
- US 13/ 9mm, 36” circular knitting needle (for magic loop or DPNs) {These are my favorite interchangeable knitting needles! They make switching sizes within a pattern super easy!}
- US 15/ 10mm, 36” circular knitting needle (for magic loop or DPNs)
- Tapestry Needle
- Stitch Marker
- Scissors
- Pom Pom – Optional
Yarn
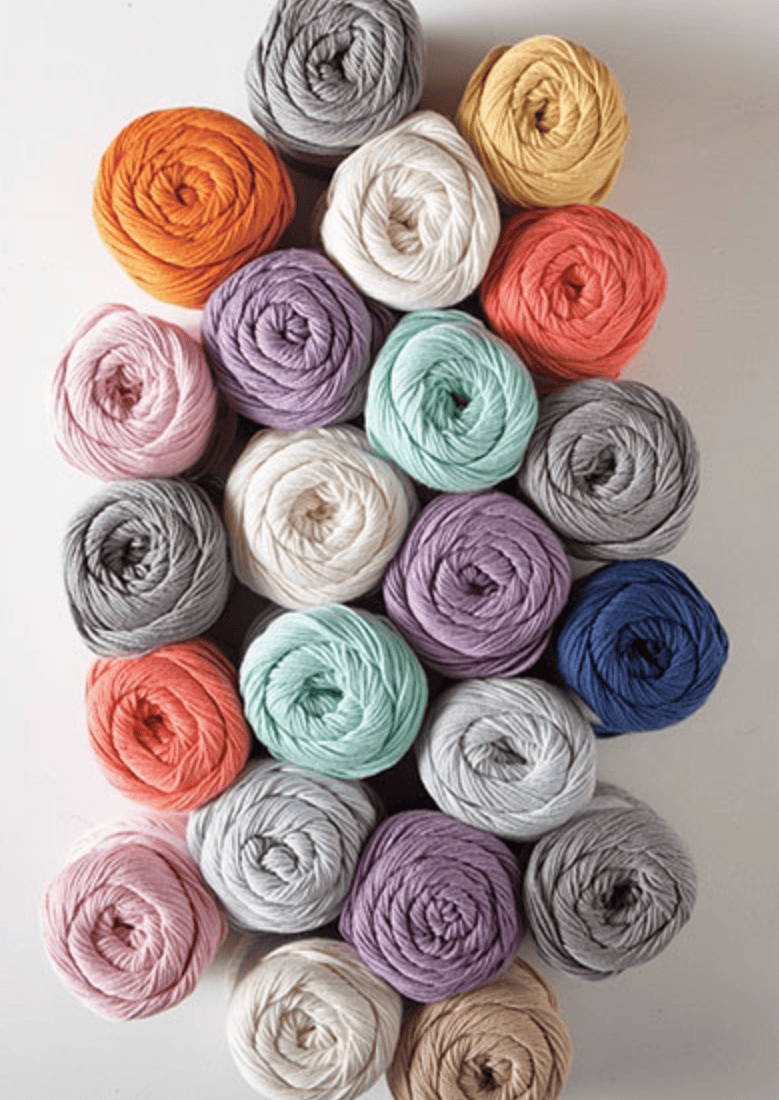
- 4 colors of super bulky yarn.
- Recommended: Lion Brand Wool-Ease Thick and Quick (you can find this yarn on Lion Brand’s Website here or I also like to check JoAnn for yarn discounts and sales!
Gauge:
10 sts & 12 rows = 4”/10cm
Worked over stockinette stitch in the round using size US 15/ 10mm needles, unblocked.
Finished Measurements:
6″ wide x 7.5″ tall
Yardage:
- MC – 24 yards
- CC1 – 9 yards
- CC2 – 9 yards
- CC3 – 9 yards
Notes:
- When knitting the color chart, make sure to knit very loosely or your colorwork can get tight and create a hat that is too small. This is especially important to pay attention to during rows that include 3 different colors in one row.
- As with all fair isle knitting, be sure to catch or trap your floats in the back of your work so that they don’t become too long. With super bulky yarn I typically like to “trap” my floats every 3-4 stitches. Here is a helpful video.
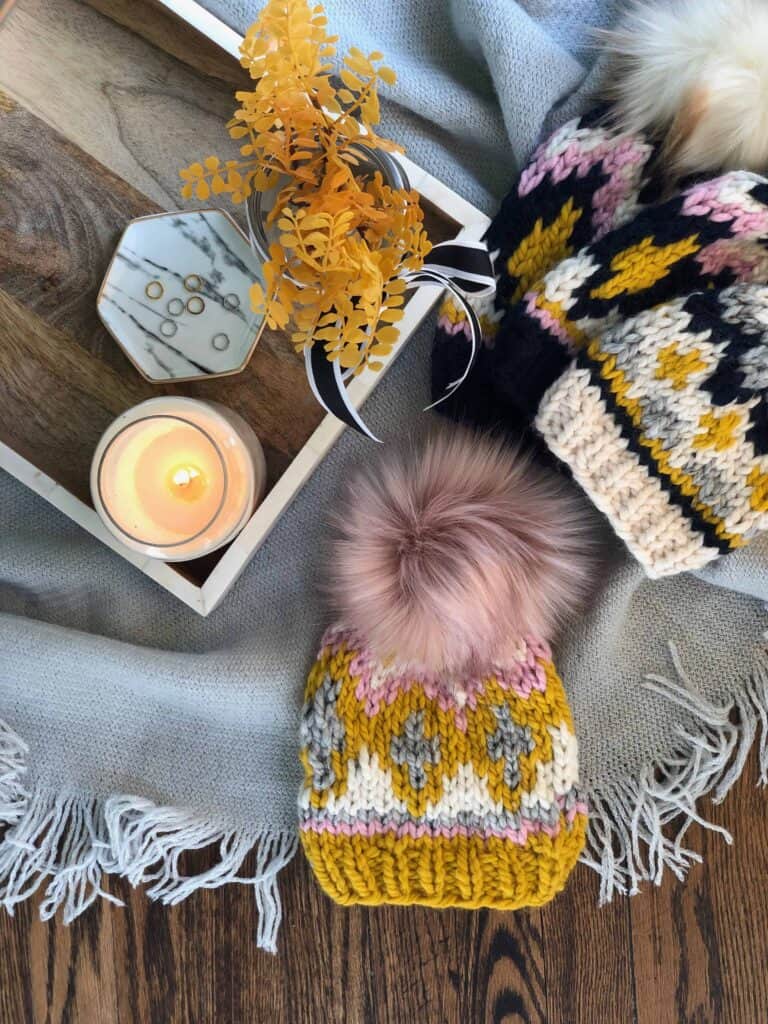
- Pay attention when choosing your main color. This is the color of the brim, diamond pattern, and top of the hat. You will want it to stand out in value from the rest of the colors so that you can see the pattern shine through. That could mean selecting the darkest or lightest color as your main color.
- The first few rows of the chart are stripes and will leave a hole at the beginning of the round. This can be closed when weaving in the ends.
Glossary:
- ST(S) = Stitch(es)
- BOR = Beginning of round
- DPN = Double Pointed Needles
- CO = Cast on
- K = Knit
- P = Purl
- KFB = Knit into the front and back of the stitch (Increase) Knit two together (Decrease)
- MC = Main Color
- Rep = Repeat
- PM = Place marker
- SM = Slip marker
<script async src="https://pagead2.googlesyndication.com/pagead/js/adsbygoogle.js"></script>
<!-- In post square -->
<ins class="adsbygoogle"
     style="display:block"
     data-ad-client="ca-pub-6835687997874512"
     data-ad-slot="4658798106"
     data-ad-format="auto"
     data-full-width-responsive="true"></ins>
<script>
     (adsbygoogle = window.adsbygoogle || []).push({});
</script>
Directions:
BRIM
Using size US 13/ 9mm needles and your Main Color; CO 32 sts and join in the round, be careful not to twist sts. Place a stitch marker to mark the beginning of the round (BOR).
Round 1: *K1, P1; Rep from * to end of the round.
Repeat round 1 until you have a total of 4 rounds of ribbing.
INCREASE ROUND:
Switch to US 15/ 10mm needles.
*KFB, K7; Rep from * to end of the round. (36 sts)
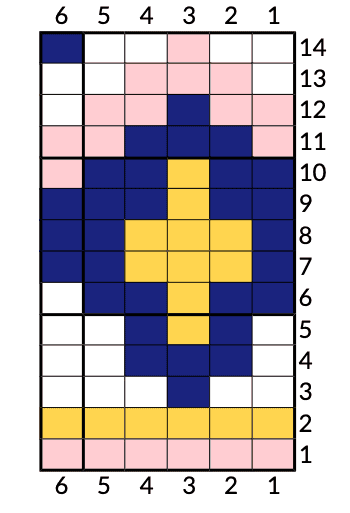
COLORWORK CHART:
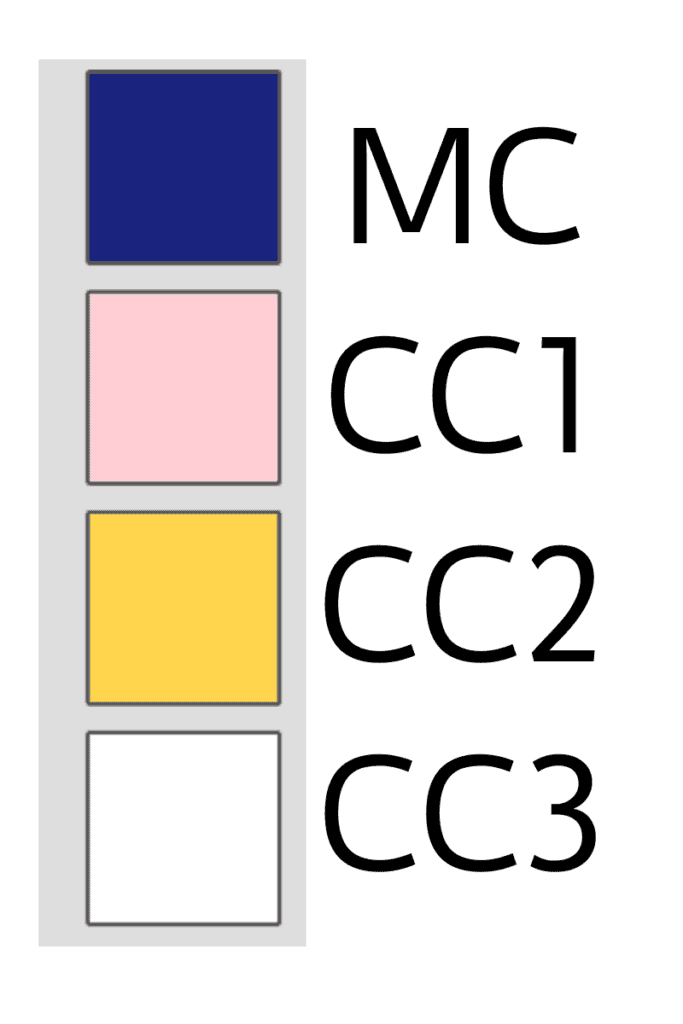
Refer to the colorwork chart below. Once you finish knitting the chart, move onto the decrease rounds. For those new to charts, this pattern is knit in the round. Therefore, you will begin knitting each round from the right-hand side of the chart. The chart will read from right to left for each round and all stitches are knit stitches.
Chart & Key:
<script async src="https://pagead2.googlesyndication.com/pagead/js/adsbygoogle.js"></script>
<ins class="adsbygoogle"
     style="display:block"
     data-ad-format="fluid"
     data-ad-layout-key="-fb+5w+4e-db+86"
     data-ad-client="ca-pub-6835687997874512"
     data-ad-slot="7635143717"></ins>
<script>
     (adsbygoogle = window.adsbygoogle || []).push({});
</script>
DECREASE ROUNDS:
Break all colors except MC. You will use the MC for all of the decrease rounds.
Round 1: *K2TOG, K1; Rep from * around. Knit any remaining sts. 24 sts.
Round 2: K all sts.
Round 3: *K2TOG* around. Knit any remaining sts. 12sts.
FINISHING:
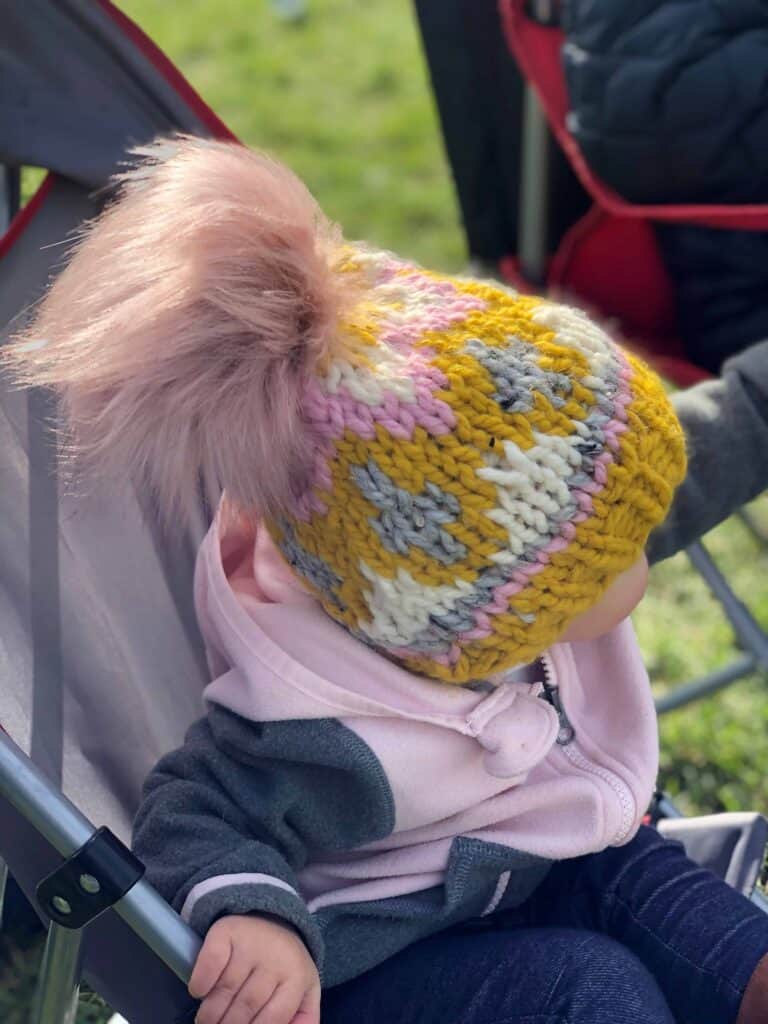
Cut yarn, leaving an 8”/ 20cm tail. Using your tapestry needle, thread the tail through the remaining stitches and pull tightly to close the top of the hat. Weave in all the ends (I know there are many but it’s totally worth it, right?!). Attach a pom pom if desired.
- Get the large print, ad-free, printable PDF pattern here.
- Pin this to your Pinterest board for later here.
- Add this to your Ravelry queue here.
- Find more FREE knitting patterns here.
Get Free Knitting Patterns delivered straight to your Inbox by signing up for my newsletter!
<script async src="https://pagead2.googlesyndication.com/pagead/js/adsbygoogle.js"></script>
<ins class="adsbygoogle"
     style="display:block; text-align:center;"
     data-ad-layout="in-article"
     data-ad-format="fluid"
     data-ad-client="ca-pub-6835687997874512"
     data-ad-slot="3695898708"></ins>
<script>
     (adsbygoogle = window.adsbygoogle || []).push({});
</script>





Great content! Super high-quality! Keep it up! 🙂
Thank you!
This is really attention-grabbing, You’re a very skilled blogger.
I’ve joined your rss feed and sit up for searching for extra of your
great post. Additionally, I’ve shared your site in my social networks
I like the valuable info you supply on your articles.
I’ll bookmark your blog and check once more here frequently.
I’m reasonably certain I’ll learn lots of new stuff proper here!
Good luck for the following!
I really like your blog.. very nice colors & theme.
Did you make this website yourself or did you
hire someone to do it for you? Plz respond as I’m looking to construct my own blog and would like to find out where u got this
from. thanks
Hi, I did it myself and purchased the theme from 17th Avenue. Thanks!
Absolutely love the hat! I am expecting in December and would love to make for my new baby and her soon-to-be big sister. Did you buy the furry pom poms or make them? If you bought them, where did you get the pink furry pom pom. If you made them, could you recommend a tutorial to watch and where to purchase the materials for the pink furry pom pom. Thanks in advance!
Congratulations! That sounds like the sweetest sister set! I made the pink pom myself, however, I highly recommend the poms from Life’s Little Things. Here is the website https://lifeslittlethingsco.com/collections/pink-poms If you only need 2 poms it’s easier to simply purchase 2 than the buy the faux fur fabric and cut them down yourself. Let me know if this helps!
Hi!
I purchased this pattern via Ravelry. I am making the hat for a 1 year old. Would you suggest the baby size or the toddler size?
TIA!
Hi Mary! I would recommend the baby size for a 1-year-old if they are just turning 1. The toddler size is better if they are closer to age 2. Happy knitting!
Woah! I’m really digging the template/theme of this blog.
It’s simple, yet effective. A lot of times it’s tough to
get that “perfect balance” between user friendliness and appearance.
I must say that you’ve done a amazing job
with this. In addition, the blog loads very fast for me on Opera.
Exceptional Blog!