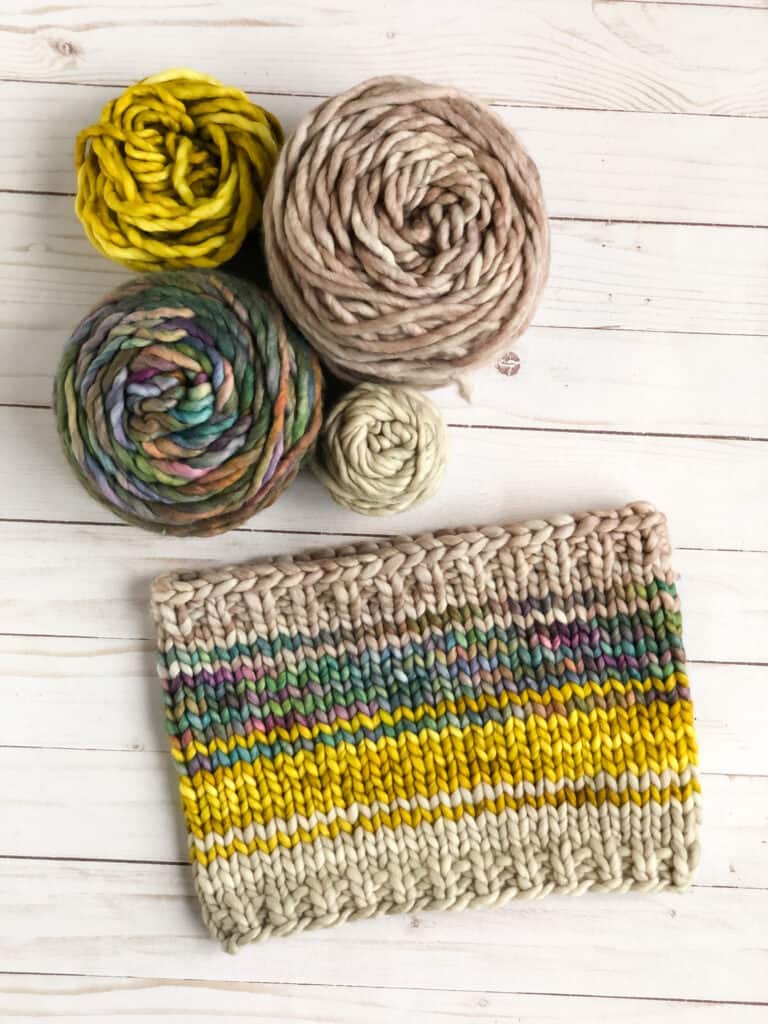
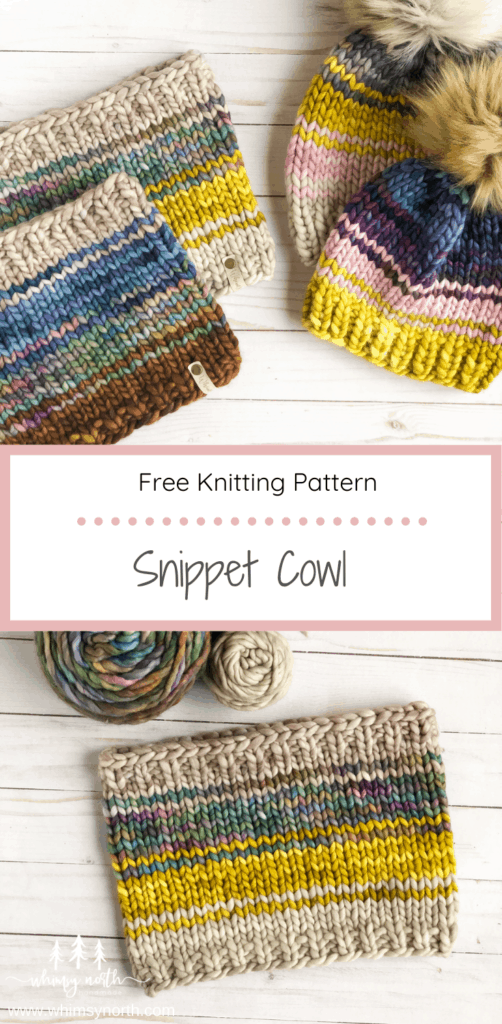
An easy chunky stripe knit cowl my – Snippet Cowl – is a free chunky cowl knitting pattern here on the blog! Read through my inspiration, how I knit my stripes to keep holes from forming, and my suggestions for yarns. Or scroll down for the free pattern.
This post may contain affiliate links. In the event of a sale, I get rewarded a small commission, at no extra cost for you. These funds help me keep my blog up and running to provide you with great content and free patterns so thank you!
Stash Busting Free Cowl Knitting Pattern.
Raise your hand if you have a bin full of yarn scraps leftover from previous projects. I know mine is getting pretty full! I save all of my scraps in a bin and love a good stash buster project. That is the inspiration behind my Snippet Cowl and my Snippet Beanie.
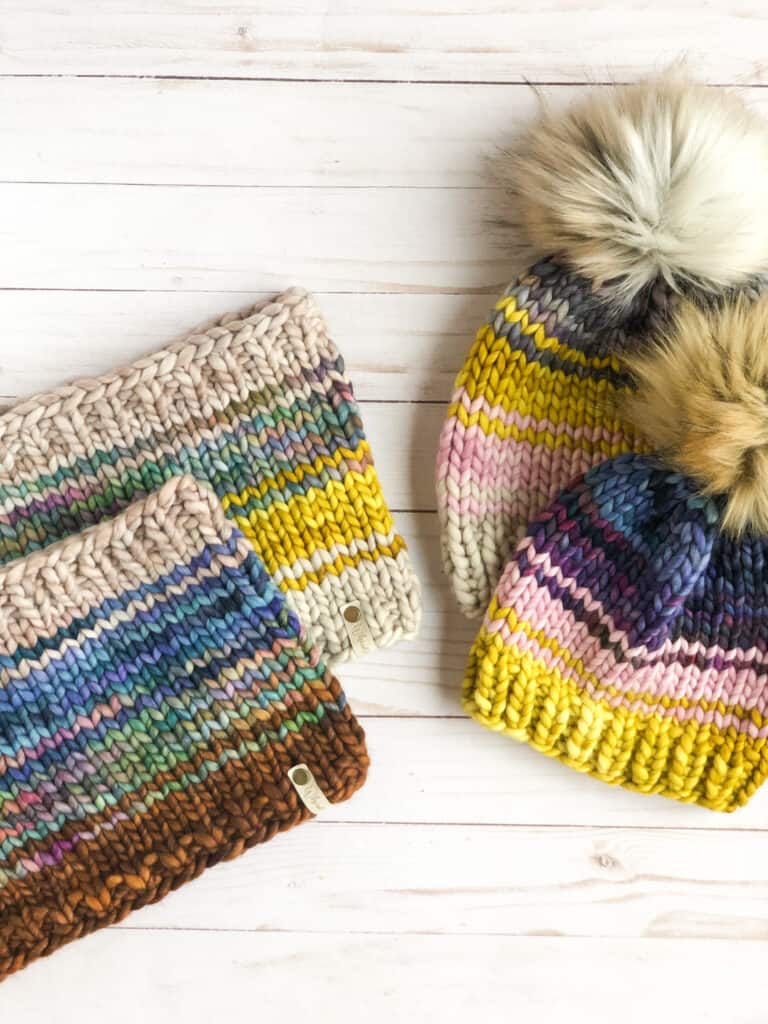
The Snippet Beanie came first. You can purchase the Snippet Beanie pattern on Etsy and Ravelry. I wanted to design a pattern that was quick to knit, fun and used up my yarn stash. It comes in sizes for the whole family so you can mix and match your yarn scraps to create coordinating hats for everyone!
Once I released the Snippet Beanie pattern I knew that it needed a matching chunky cowl. While I love scarfs, cowl knitting patterns are one of my favorite things to design. You can find my other cowl patterns here.
Some of the reasons I love designing knit cowls is there is no grading involved! Many can be knit using only one skein of yarn and I love how easy they are to slip on when heading out into the cold.
Knitting Stripes – Joining in new colors.
When knitting single bands of stripes in the round holes can form at the beginning of the round where new colors are added in. During the design process of these patterns I played around with the best way to join in new yarn colors while minimizing gaps and holes along the seem.
To do this I twist the current color I’m using with the new color right before I start knitting with the new color. In order to best show how this is done, I created a video for my YouTube channel. You can find that video here: How to Knit Jogless Stripes in the Round.
Yarn Selection.
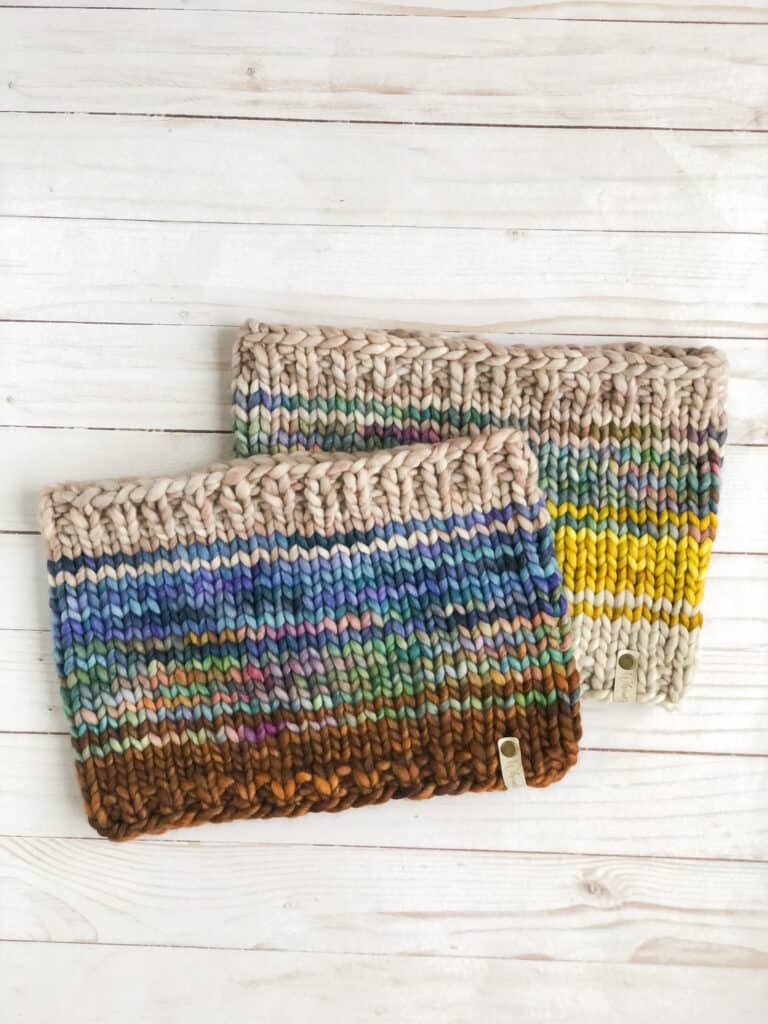
You will see from both my Snippet Cowl and Snippet Beanie samples that I used Malabrigo Rasta yarn. This is one of my favorite yarns ever! It’s super soft, made by an amazing company, and has gorgeous color options. I also love that the variegation in the yarn causes a fading effect in some of the colors.
Some other super bulky yarns I recommend for this cowl are Sugarbush Chill and Lion Brand Yarn Wool-Ease Thick and Quick. Both of these are of a similar weight to the Malabrigo Rasta and so will give you a comparable size cowl with the same drape.
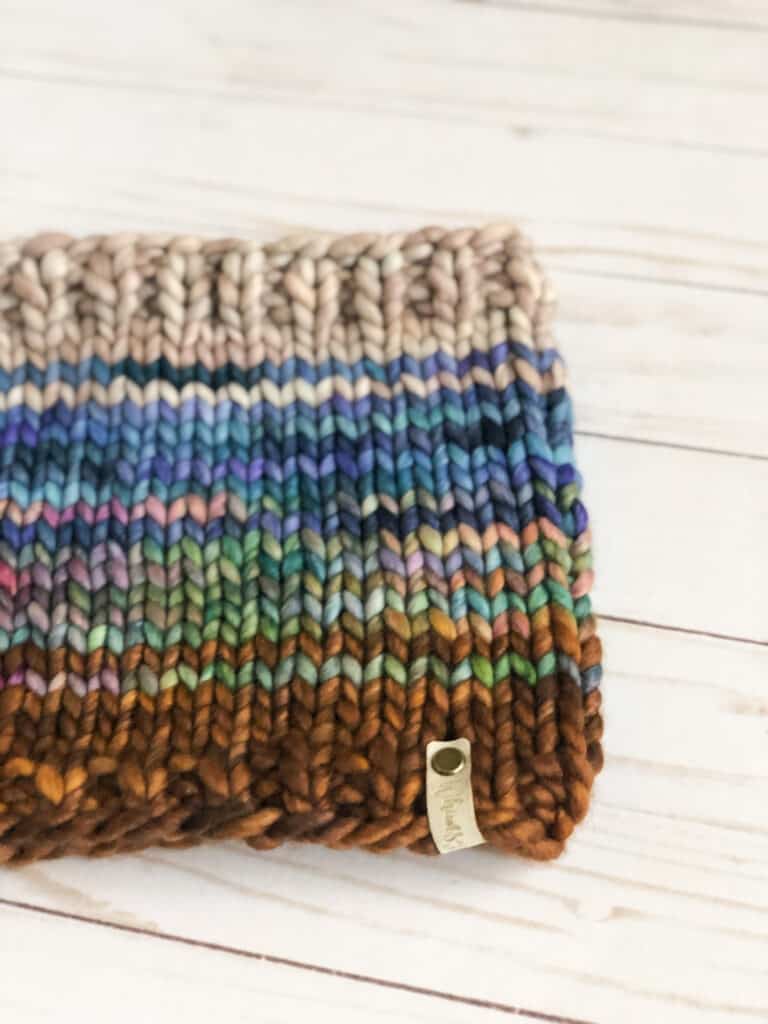
Snippet Cowl – Free Chunky Cowl Knitting Pattern.
- Purchase the ad-free, large print PDF pattern here.
- Purchase the Snippet Beanie and Snippet Cowl DISCOUNTED pattern bundle here.
- Add this to your Ravelry queue here.
- Pin it to Pinterest here.
Supplies:
yarn:
- Super Bulky, weight 6
- 4 Colors – 22 yards / 28 grams of each.
Sample Yarn:
- Color A: Fog
- Color B: Frank Ochre
- Color C: Arco Iris
- Color D: Whole Grain
Needles:
- US 15/ 10mm: 16″ / 41cm long circular needle. (These are the needles I use and love! They come in many different sizes and include different cord lengths.)
Notions:
measurements:
- 12″ Wide x 8″ Tall
Gauge:
9 sts & 14 rows = 4”/10 cm
Measured over stockinette stitch in the round.
Glossary:
BOR – Beginning of Round
CO – Cast on
k – Knit
p – Purl
Rep – Repeat
st/s – Stitch/es
Pattern:
CO 50 stitches with color A, place stitch marker, and join in the round.
BOTTOM RIBBING
Rounds 1 – 2: Using color A, *k1, p1; Rep from * to end of round.
COWL
Rounds 3 – 24: Knit every round, switching colors as stated below. You can use the tally chart to the right to keep track of your rounds.
Rounds 3 – 5: Color A.
Round 6: Color B.
Round 7: Color A – break Color A.
Rounds 8 – 12: Color B.
Round 13: Color C.
Round 14: Color B – break Color B.
Rounds 15 – 19: Color C.
Round 20: Color D.
Round 21: Color C – break color C.
Rounds 22 – 24: Color D.
TOP RIBBING
Rounds 25 – 26: Using color D, *k1, p1; Rep from * to end of round.
BIND OFF
Bind off all sts in a k1, p1, pattern. Weave in all the ends and use them to sew up any holes.
Now get ready to shield your neck from the cold in style!
- Find more FREE Knitting Patterns here.
- Purchase the ad-free, large print PDF pattern here.
- Add this to your Ravelry queue here.
- Pin it to Pinterest here.




Wonderful post! We will be linking to this great post on our site. Keep up the good writing. Aime Izzy Janicki
I made the snippet cowl tonight and it turned out great! How do you keep the rib from curling? I want it to lay flat.
Hi! I’m so happy you enjoyed the pattern! I steam blocked my cowls once they were finished with a steamer. That helped the ribbing stay flat. You can also use an iron and a damp towel to steam block. Let me know if that helps!
Hi can this pattern be changed to be knit on straight needles? I am based in the UK and never have learnt to knit in a round.
Yes! You can certainly knit this pattern flat and then seam it up the back using a mattress stitch. I would recommend adding an additional stitch to each end so that when you seam it you end up with the original circumference. Therefore, cast on 52 sts at the beginning. Then instead of knitting every row you will purl the wrong side rows in order to knit it in stockinette stitch. Let me know if that helps!